Sunday, 27 October 2013

A Study of San Diego Gardens


A little sidestep today, as I'm gathering up lots of garden thoughts and ideas for our lovely little house in Melbourne's West. Oh we love it, and since we've been back from our USA Vay-Cay we've had lots of dreams about how we can make our 1920s/30s abode into a California Dream!

I loved the neatness, simplicity and lusciousness of the gardens in California! We had a great walking time in San Diego (mostly in La Jolla) so I snapped a few gardens I loved... but I wish I took more photos, these are great (and will be pinned to my own pinterest for inspiration gathering!) but I feel I've missed the true style of So-Cal (do I sound like a local yet?)! We have a front garden here at home that would look great with a little Californian style and planting... but I'm fully aware that most of these Californian gardens have regular gardening services... so I guess I'm going to have to think about a low maintenance approach for ours... but we'll see where we go with it. I'm no green thumb, but I can dream. Californian style, perhaps!

So today, let me indulge for a brief NO SEW inspiration! Apologies for all the photos! Garden lovers rejoice!


P.S if any of these houses pictured are yours, I love your front garden! xoxo

Wednesday, 23 October 2013

100 Things Update!


I've been making 100 Things quietly, it's a little challenge I've set myself... but as you know I'm slow at creating stuff right now, so I've given myself no deadline and no requirement about what a 'Thing' is... it could be clothing or a piece of crochet, it will more likely be something for Baby Darling... it could be bunting (as we know I have shitloads of this) but hopefully will be a freaking cute dress here and there.

The year has gone pretty fast, so before it slips behind us, I thought I'd do a tally up and check in (for my own thoughts really) with where I'm at with it!


So, I started sewing 100 Things in March 2012 with the above dress for the Sew Weekly Mad Men themed week, I've as of today I've created:

33/100 Things!

I'm quite happy with this! I actually can't remember a lot so just going through the tag/archive:


This poor baby blanket I crocheted last year went through my hot wash in my machine (by mistake of course! I didn't remember I put it in there!) so is now felt-like... still good for sitting on if you're a baby!


This mustard scarf/larf/cowl/scoopy loopy thing, was just the favourite accessory since I made it early this year... I just adore the fabric (my keen fabric friend tells me it's silk of some sort) but it got beetroot stains all over it, and I couldn't clean it fast enough to get rid of them. ARGH!

Good news though, this rainbow blanket I made for Baby Darling has survived and is just gorgeous!


At 33/100 Things in the last 18 months, I guess I'm a third way through my gorgeous & Veronica Darling paced challenge!

xoxo

Tuesday, 22 October 2013

Voila: Little Leggings to Match


With my leftover legging fabric, I made some more: just minature!

Christine from What's Up Cupcake asked if we were going to see the little ones, so here they are... and they're for my friend's little girl... she's 3 months older than my BD, but has been walking since 9 months old! WHO walks at 9 months? Some children apparently! Daredevils!

Of course, they're very similar to my leggings... but I used a pattern my friend from Mother's Group shared with me (too exciting knowing sewing people in real life!) and it probably took 20 minutes... it takes longer threading the elastic through the waist casing than it does cutting & sewing the whole thing! Don't be deceived, my little friend isn't super tall... I'm super short... so of course a 1 year old's trousers would be half my trousers in length. OF COURSE!

Hope you're having a lovely week so far! I'm cleaning my (neverending) sewing room - which has turned into a craft room (I'm a whizz at making baby birthday cards), a bookkeeping room (hello Husbie's business, I invoice everyone) and a storage room of all the nostalgic things in our house. Photos from 1995! YES! And lots, lots more.

I might need an extra coffee today!


Saturday, 19 October 2013

Little Things: Springtime Stories


Another group of Little Things that make me feel great:

* Westie Besties living so close to me, and having young children and partners and bumping into them at lovely cafes with dreamy coffee. Yes, I'm so lucky to have my dear friend Karen as a near enough neighbour.

* Getting my hair did again (champagne again, no more platinum.... champagne ONLY in drinks and hairs please!) and it being sunny and warm and our grass is just gorgeous for lying around on! (SEE PHOTOS ABOVE)

* Work spouses! (Did you know that if you have a bestie or two in the workplace, you'll be more productive?) I have several, but sometimes I'm confused as I might also be their work mummy as well... HMMM.

* Little one year old boys who walk around and are just darling! I see a few at playgroups, mothers groups and in my 'hood... but of course my little boy, who is officially a toddler as of this week (he can stand up without help or pulling himself up - usually tries downward facing dog and then stands up - ooh the stomach muscles!) is the toddler toddling to my heart. (GUSH ALERT)

* AND mostly, seeing my darling (now Sydneysider) bestie Amy for a weekend in fun Melbourne springtime, sun & showers and marvelling her petticoats and prettiness and tallness. Cannot wait for our holiday together in January! And maybe a surprise visit in December...


xoxo


Thursday, 17 October 2013

My First Real Pair of Handmade Leggings


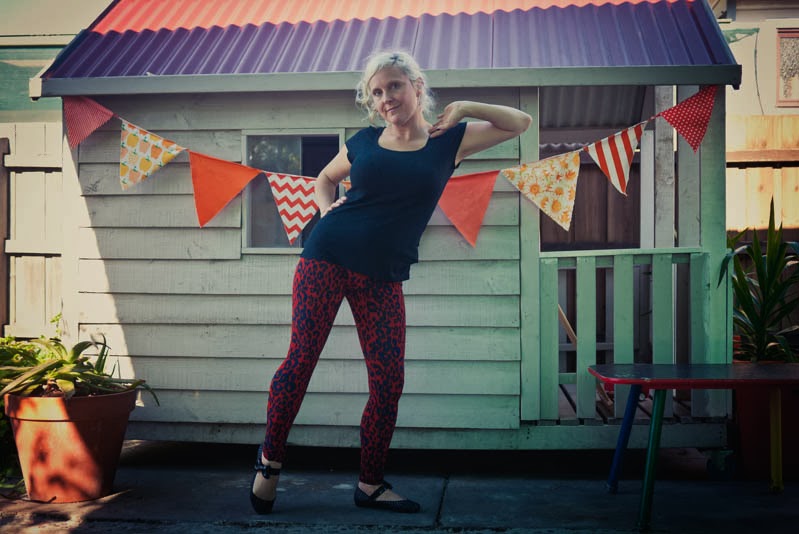
Voila! I made LEGGINGS. And when you make leggings, you have to try and show them off at all angles:


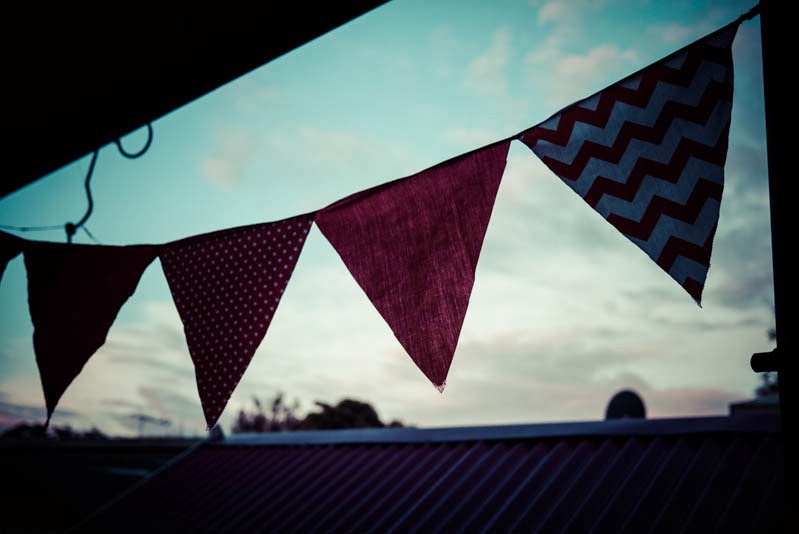
 And now with various accessories, like with LONG cowl scarves and cardigans (and baby bunting backgrounds):


Through my sewing career, I've made perhaps 2 pair of leggings, one during Sew Weekly that were ok, but I didn't hem or do any waistband (just made it a really LONG hip section, so it was almost at my boobs)... and one pair before we went to the USA this year (that I haven't blogged) but I also avoided doing the elastic waistband by putting a fabric one on, but that didn't really work because I made them all out of purple ribbed fabric that wasn't really that nice. OH WELL.

THIS red & blue leopard print fabric however is amazing! I bought it at Clegs in the sales (impulse buy in the city as I was also rocking Baby Darling to sleep in the pram in the store) and I think it was about $20 a metre. AND, as I'm a short arse, I only needed a metre. There was also spare fabric to make some leggings for my toddler friend too (a friend's toddler, not BD because I already have some matchy stuff that we wear and I'm thinking I should tone it down a bit). (We often both wear purple and red together, or greys and greens or whatever... I just get a vibe and accidently dress us the same)

I was going to save the docket to remember what the fabric was called, as it's a synthetic something but very stretch and soft and feels a bit nicer than just poly-whatever. (?ARGH? still not so good on remember fabric names!) I did put elastic (by sewing a casing - folding the top of the waist down and sewing an inch casing, with a little whole to put the elastic through) and it fits fine around the waistband... even though I'm a little 'who cares' about what I look like, I did take a photo of my waist, and it's not that good. It's hard taking photos of yourself! My camera takes 3 self timed photos as once, so there's not that much in focus.


The pattern was a pair of H&M leggings (the stripey Beetlejuice ones) I bought in LA and wore a little too much (or the fabric wasn't meant to be worn that much) so before they totally went/stretched out, I cut them up, and used them to make these. So they're a perfect fit! But then, without thinking, I went and cut out a pair of baby leggings using the old H&M fabric (refashioning alert!) so I now don't have this uber awesome pattern anymore. OH WELL!

Hope you've been having a kickass legs in the air week too! YAY for resting at home and taking it easy during my days not at work (I have a dumb throat cold that's not budging)! LOVE being a mum and a working mum and a freaking legend.

Hooray!

Wednesday, 9 October 2013

Little Handmade Posies


My garden continues to grow without my (lack of) green thumbs, and after Baby Darling's birthday (where my mother in law made beautiful little posies for the table) I've continued to fill the house with little posies.

On top of the tv
On the hallstand
Near the bathroom sink
On the window sill
On our deco dressing table

Little ledges and shelves where little bottles can fit. I've kept the orange ribbons from BD's birthday party too. A bit hodge podge, but so sweet for bringing the outside in!

xoxo

Monday, 7 October 2013

Quick & Easy Bunting: With an Overlocker


Time for the quickest, easiest, slap dash way to make bunting. If you've been looking for how to make quick and easy bunting, look no further than my cheat sheet below! And there are LOTS of photos in this post!

If you're like me and without any spare time in the day and want to decorate the easy & simple way... here are my tips on how to get something bright and wonderful up around your party in a flash, instead of still stuck on the sewing table. Have you got a serger or an overlocker, or thinking about getting one? This is for you!


Overlocked Bunting is connected with just the serger thread, so you don't need ribbon or bias binding to sew it to, but it looks less 'finished'... however it doesn't take as long. I was googling easy bunting a few years ago, so can't remember if I just simplified someone else's tutorial, but just checked now and most tutorials show you with a ribbon on 'top' or doublesided gorgeous neat (but time consuming) flags.


What you need:

Something for a template (cardboard, paper or whatever!)
Fabrics, could be stash fabric, scrap fabric but a variety works best in my opinion. And less than half a metre of each.
Scissors
Threaded Sewing Machine - Overlocker is best for easy & quick bunting


1. Make a template for your triangles. Sometimes I've made small flags, today I'm making big ones!

2. Select your fabrics! I've bought some drill, some other cotton stuff and some stuff from the stash here today... with the colour scheme of ORANGE! For my boy's birthday!

3. Cut a triangle out of cardboard or butchers paper (as I've used here) to the size that you like. We're going gigantic today for the party! After I've cut a few using the paper template, I just use the fabric pieces like below:


4. Use your triangle as a pattern and cut out as many flags as you'd like. Today I'm making bunting for our entire outside undercover area, so I'll try and make as many metres as I can. But happy looking bunting need only have 2 metres of assorted flags!


5. Once you've cut them all out, sort them into piles of flags, ready for your overlocking sewing production line.


6. Using an overlocker, I sew about 30cms of extra threads. You know when the overlocker creates 'chains' of stitches? I use that to tie the ends of the bunting to things. So over a foot, or a ruler length is usually enough to tie around a pole or a beam.


7. Place your first bunting flag right side up, with the top bit ready for the overlocker to suck & cut up, and the tip away from the machine... sew!


8. Before you finish overlocking the first flag, add the second bunting flag (of a different pattern) loosely lapped under the first flag, so that the overlocker grabs them close together and the fabric is serged together at the ends of the triangle. Repeat for as long as you like or as many bunting pieces you'd like in a row! I make about 8 or 9 flags together usually, but that's my preference!

9. When you add your final flag, make sure you serge an extra foot/30cms so you get another chain of stitches at the end. With long chains of stitches at each ends, you know how have space to tie each end! Sometimes, if I'm pinning these to a wall (like I do at work), I make longer bunting, and pin them in 'smiles' or upside down semi circles, to make them more garland like. But see here for the extra 'chain' at the end for tying!


Viola! Hang them up wherever! YAY! Baby Darling's First Birthday was all orange!


I've never done a tutorial before, so please let me know if I've left some bits off, or it's too silly to understand! As you can see above, I don't worry about 'right' way or 'wrong' way of fabric... it's a lot more simple and slap dash to put together... but I do tend to hang them right way out, however I just don't think people care that much when bunting is looking sweet and blowing in the breeze!

Hope you had a great weekend! xoxo

Dongmen Lu Fabric Market

Happy Wednesday! Time to get some fabric inspiration from the Dongmen Lu Fabric Market here in Shanghai! Can't believe how quickly 201...