Showing posts with label DIY. Show all posts

Wednesday, 11 May 2016

Voila: Springtime Gathered Skirt

Last week the girls at Craft’d Shanghai asked me to host a “Next Step” type sewing a class… they’ve been organising the 'learning to sew' classes for a while, making aprons, pillowcases and totebags… they’ve added zippers to bags and made infinity scarves like absolute legends. But they hadn’t made any other clothing… So, hence the “Next Step”… I was more than happy to host the class, but haven't really taught sewing before, so I emphasized the DIY heavily to all my sewing skills and we talked about lazyseamstressing a bit too!

The day was 4 hours of 3 students, and definitely using the blogs of the sewing community world, I came up with the few steps below:

- Measure your waist

- Measure the length from your waist to where you like the hem to be

- Really puffy & full: at least THREE times your waist measurement

- Only a little puffy: at least TWO times your waist measurement

- The skirt has 2 rectangles: one piece is your waist measurement plus 2.5 cm for ease & 2cm for seam allowance. second piece is the skirt with the width being your preferred measurement, and the length being your length with added at least 4-10 cm for the hem allowance & seam allowance.

- SEW it all up following these tutorials: Gertie's Gathered Skirt and By Hand London

Before the class, I made this skirt as a test to check it all worked… and 100% it’s a skirt, so I think the method worked! And by the end of the Craft’d class there were at least 3 skirts close to finishing so YAY! I was going to make it fuller, but opted for a longer swishy skirt and used the actual width of the fabric as my measurment - so it was *just* two times my waist. LAZY seamstressing but less fiddling around. The 2.5 ease also might be a little toooooo much ease for this doesn’t sit on my waist properly, so I’ll try a little less next time.

It looks so SHORT on the windowbench like this... I must be quite petite, for it feels so long when it's on me! For the first set of photos I paired it with the Lilith & Eve top I made in wintertime, it's a little wonky on the hem because I sew-ed it up terribly but still lovely and light for the spring humidity.

But yes, pretty much, the fabric is from Dongmen Lu Fabric Market here in Shanghai, it’s light cotton rayon or something and I cannot walk past a print like this without purchasing! I love it. It was probably 35RMB a metre so maybe $6 Australian… lovely for springtime!

WOW, it's been a busy year for me so far... I've loved being part of our women's society and all the other busy bee things... AND we're just about to move house! I'm keeping my Instagram updated on the day to day things, and fingers crossed we won't be without internet again - my modem/router died a few weeks back CANNOT EVEN - while we shift. Hoping the China Telecom peeps will be connecting it tomorrow!

Hope you're well! Miss you and hope to see what you're sewing for spring/autumn when I get to read my Bloglovin' tonight!

Monday, 22 February 2016

Making: Knots for New Years

Xin Nian Kuai Le! It's now the year of the monkey, and I've never felt so overjoyed by the lunar calendar, for I really feel the momentum swinging with this monkey year! Absolutely love being here in China and experiencing the traditions and overall positive vibes. However astonishingly, there were NO fireworks... no loud noises... no crackers! The government decided they were to be banned this year and everyone complied. Outside of Shanghai I believe people still celebrated with a traditional bang (the noise scares away the evil spirits!), but happy new year nonetheless!

But after seeing a bunch of the gigantic knots around the city, I wanted to try my own little knots ... and over the new year weekend, I tied a few different knots, and found a gigantic pool of internet knotting resources!

So many knots, colour codes but with some Chinese instructions.

A big pinterest feed of knots!

A Panchang Knot, this is one I tried!

Chinese Good Luck Knot, tried this one too!

Chinese Flower Knot, didn't try this yet.

Another Panchang Knot, this was clear to follow.

The mystic knot, however this looks the same as the Panchang knot, and this felt slower to make but it's nice as well.

A knot necklace, I love this one! It's the celtic looking one here in the photos!

And here's an entire bunch of animated knots, a youtube channel on knotting because why KNOT!

Here are some from around town!

So while I was off on this knot tangent, I totally missed that today is Lantern Day at my son's school... they all made lovely lanterns at school of course, but last Friday was bring your own DIY lantern... gah! I should have been googling lanterns, not knots!

Hope you're well and happy Monkey Year! Do you know your animal sign? Does it mean anything to you? I've also learnt today that many Chinese people love the western horoscopes too... so it definitely all means something here in Shanghai!

Wednesday, 30 December 2015

Making: DIY Christmas Tree

”DIY

Before it gets too New Years-y around the internet, I thought I’d quickly post my DIY Christmas Tree, made from cardboard boxes, and perfectly petite for our small apartment living.

Being in Shanghai, Christmas is a little Christmassy, but considering that the day is a normal work day some traditions around town are just WESTERN traditions, so while there are Christmas Trees for sale here, they’re the plastic kind or they’re some strange kind of tree that aren’t pine trees, they just look like Christmas Trees do. I’m not sure, but they’re SUPER expensive. SO, throwing my thriftiness around isn’t hard… especially when there’s oodles of cardboard around.

Last year, I made the tree with these same strips of cardboard (groceries can arrive in very stable awesome cardboard boxes that you can return, use or recycle) but don’t think I posted it, and it was strung up with rope from a coat hanger, each piece was tied by threads and it looked like a large mobile … and I tried to do the same thing this year, but obviously you can’t replicate genius - ha - and it wouldn’t hang the same way!

Through the Craft’d Shanghai peeps, we had a DIY stamp kit, and it was so fun drawing up these little pine leaves on the tracing paper and etching out the stamp. I haven’t done lino cutting (as our art teacher called it) for years, so while Felix enjoyed a Mickey Mouse Christmas Movie I cut it out and then he did the stamping …

”DIY

I used extra green washi tape for securing and while it’s not the greenest, realest, or prettiest tree, it’s certainly unique and was kitschy and quirky for our family for the month. Felix chose where it would go, right in a corridor to the bedrooms from the dining room, and luckily near the powerpoint. Clever cutie, and a good lesson for him about electricity and we probably spent every day together plugging it in and unplugging those lights. 3 years olds are sponges!

”DIY

Hoping you’re having a relaxing week between the big festival days, again, being in Shanghai it’s so weird to see everything carry on as normal… but equally as strange seeing people’s beach photos on social media while it’s coffee & rugged up in jackets season here!

xoxo Happy New Years Eve to you tomorrow!

Tuesday, 22 December 2015

Making: How to Add Larger Kimono Sleeves to the Bettine Dress

Today I thought I’d show you how I exaggerated the Bettine Dress sleeve and bodice to put a summery twist on this Tilly & the Buttons Pattern! You might remember this dress I made for wearing to the ever gorgeous & lovely October wedding… it was a cool light (maybe pretend) linen fabric and super soft for the warm sunny weather back in Australia. When I posted the sleeves on Instagram, Abigail asked to see the pattern pieces, so here we go with my behind the scenes photo series!

I loved sewing my first Tilly & the Buttons Bettine Dress over summer, it was very light in some rayon cotton fabric and comfortable on those hot days here in Shanghai. (I miss them so, it’s freezing right now!) And after picking up this very light linen (for the above dress) at the local fabric market, I just wanted something that wouldn’t be a full on kaftan but kinda like a kaftan. These gigantic purple & red flowers are just the best, and I didn’t want to cut them up!

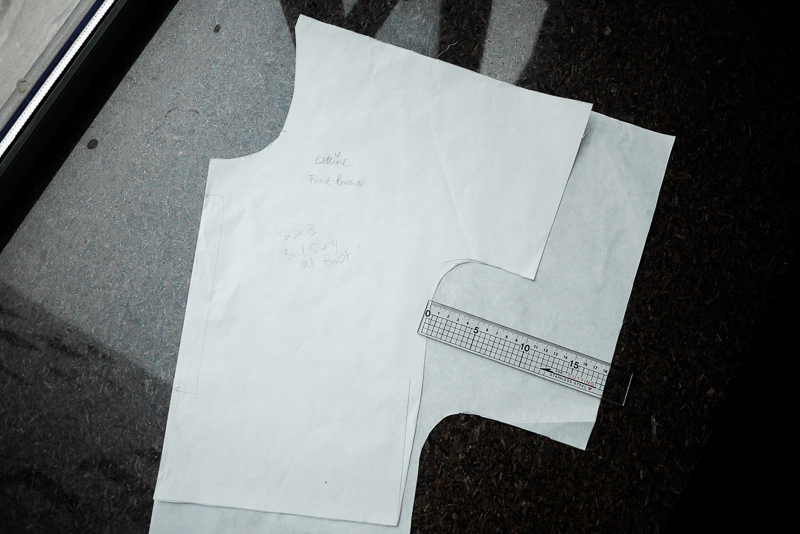
So, onto some 'How To' DIY ideas... please let me know if you need more information anywhere... typing this at the hair salon, so don't have the pattern pieces in front of me! Here's the two pieces loosely placed over each other... the bottom piece is the new kimono-sleeved piece and you can see where I just wiggled the 'around about here' length, but I think I made it a little longer just in case.

Firstly, I got my existing front bodice piece of the Bettine Dress pattern (I traced all my pieces for this one)… and traced the shoulder, the existing neckline and the centre fold. In my mind, I wanted to sleeves to be around my elbow, and so I then continued that shoulder seam line out further and on the same angle… you can see all the measurements and shapes in the photos…

I should point out that my Bettine Dress bodice has a little shape as I graded up at the bust... so you can see the original side seam in pencil, but my changes is my actual cut out curve of the underarm...

My ruler is in centimetres btw! So you can see the exaggerated sleeve, the dropped underarm curve that's closer to the waistseam (which in the original Bettine is then elasticised so isn't the true waistseam)... and it was the underarm curve that made it a bit trickier… but it came up ok for me. So the ’T’ shape is more a thick horizontal rectangle… Mushroom shape instead of a T shape? More mushroom and less stem?

I added waist ties into the side seams a few inches lower than the original waistseam too... meaning that when I tied the ties around my middle it came up a more and created the floatier loose overhang (what can we call that?) upper gathers/paper bag scrunched look... (please don't send me to fashion school, terminology is not my strong point! HA!)
So I just made sure in my changes that the back and front pieces match up at the shoulder seams, but considering that the only difference between the front and back pieces in the Bettine dress is the neckline (it's a loose fitting top) it wasn't that tricky. But play around (with cheap drapey fabric) and see what you get!
I tested out tying the ties wrapped around my front first or my back first... it looks way smoother on my bottom/waist tying across the front first. I would tie the ties, and then pull little pieces of the dress out around the waist to see how it hangs best.

Anyways, let me know if you try it, and yay for a little exaggeration on a straightforward pattern!

Tuesday, 10 November 2015

Voila: A Quick Scarf for Late Autumn

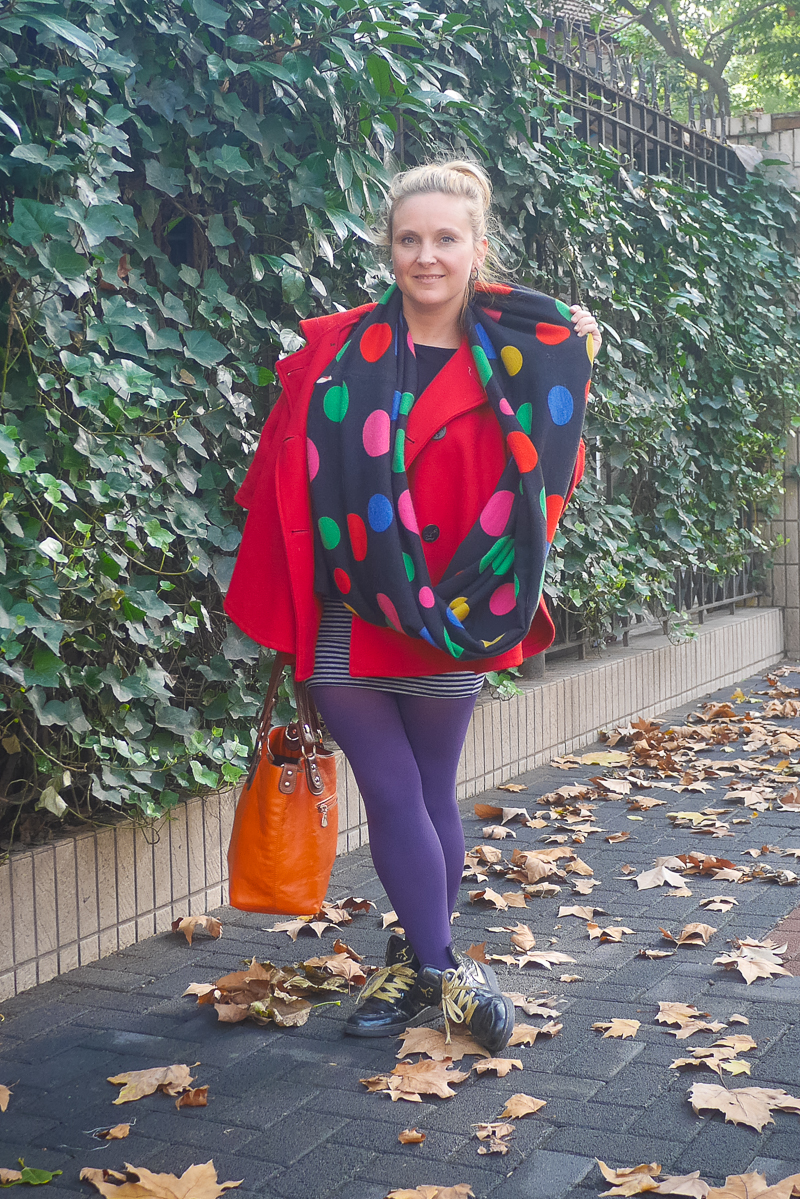
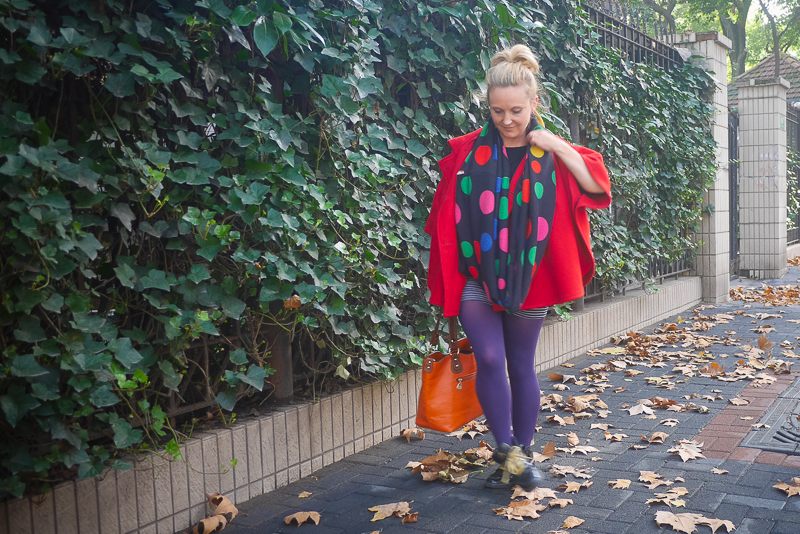
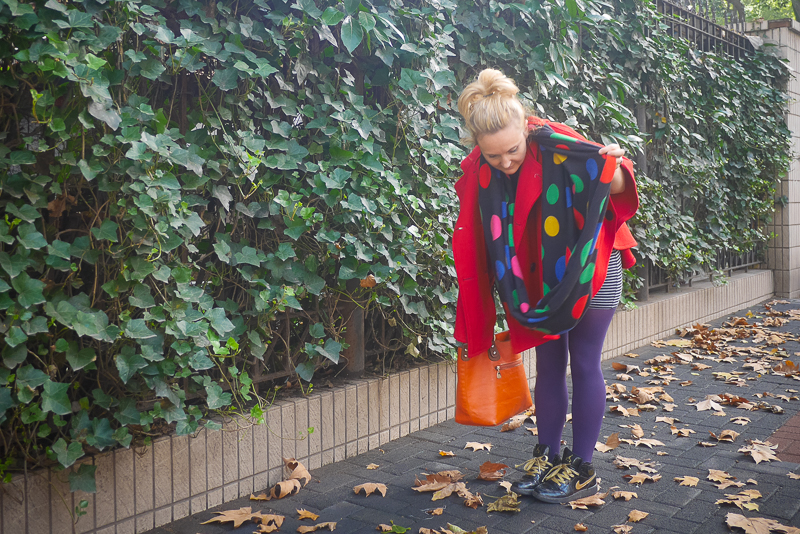
Hi there! This week I've started wearing my winter-y scarves again... it's dropped a whole 10 degrees (celcius!) during the day in the last fortnight... and I'm so not ready for winter yet! Three of our holidays this year has been back to the homeland hemisphere, and the most recent one in October really threw out my weather gauge. Ha Ha. *sigh*

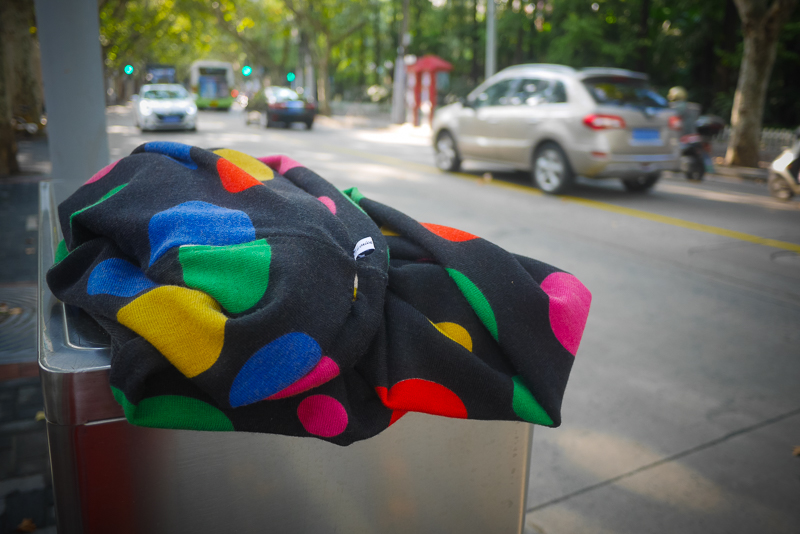
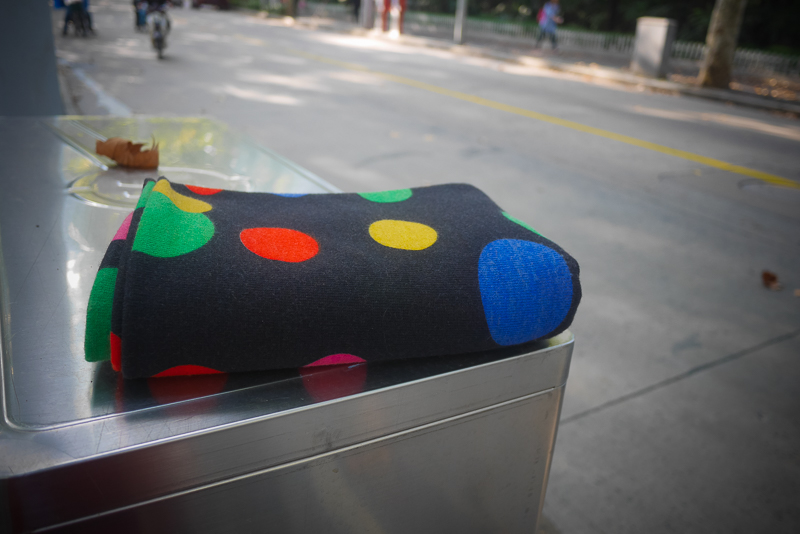
So I pulled out this scarf loop I made for one of our little pop up markets in September, and now it's officially mine!

Untitled DIY scarf loop DIY scarf loop

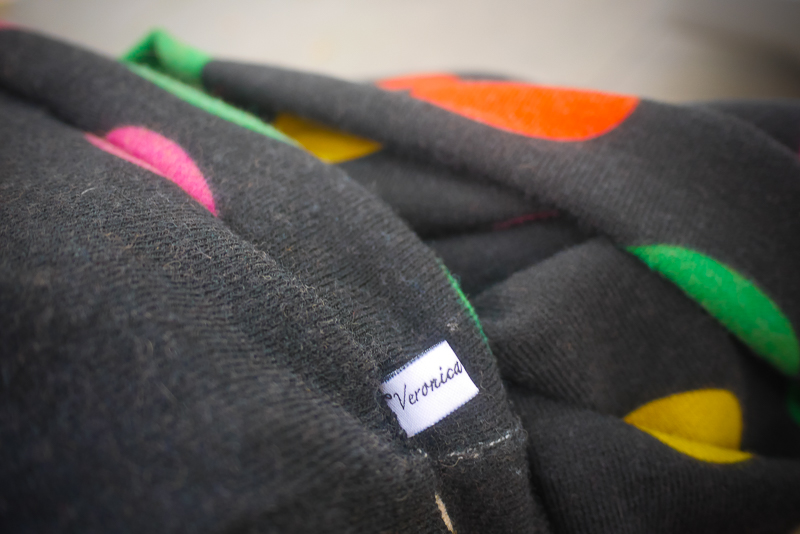
It's almost a metre wide, and the width of the fabric long... sewn in the long edge, but I leave space each side to turn it... then right sides together - stitch - pull through your hole and then slipstitch closed with the little Veronica Darling tag sandwiched in. My friend Michell suggests everything I make needs a tag, as people prefer it... making it all a little more polished I suppose!

DIY scarf loop DIY scarf loop DIY scarf loop

What are you making for winter? I'm super stuck, but have a few things to finish off ... I think with some of my stretch woolies I can do a Nettie dress. I just feel like 'where is the time' to plan, because it's super cold already! Last year the real cold chill didn't come to Shanghai 'til December, so I wasn't prepared for an early onslaught of it!

Gotta get my thinking cap on quickly, or I'll end up at Uniqlo!

Wednesday, 21 October 2015

Made in China: Craft'd Shanghai & Espadrilles

There’s something rewarding about learning a new skill or completing a new project, and while it’s fun to gather up the knowledge & materials yourself and wing it (I do this plenty of times), it’s also great doing it with others face to face. Until I started sewing classes earlier this year… I rarely did face to face classes or workshops. I'd spent years problem solving sewing myself with my vintage patterns, and in sewing the biggest mystery for me was solved when I realised clothing was sewing right sides together! Or inside out! DUR. So here's Mae from Craft'd Shanghai and I grinning about making shoes!

Making espadrilles was something I’d wanted to do, to solve the shoe making mystery… I guess! Plus, the classes were with Craft’d Shanghai and I wanted to hear about another group here in Shanghai helping people be creative. And so, here’s another of my ‘Made in China’ series for you today… where I look at the offbeat & creative side of life in China. Handmaking outside of production line with photos from throughout my class!

Untitled

So while I took the class with Mae (who came to Shanghai from the Philippines), she works closely with Natalie (a UK export)… who I hope to meet soon… but for now, here’s my questions with them!

How did you guys meet?

Natalie: I had been running crafty events through Meetup for a few months and Mae came along to a decoupage event at Chirps and Mews in Jingan. Mae apparently can’t remember me being at that event, but she came back to every Meetup after that so we got to know each other pretty well!

How did you come around creating the workshops?

Mae: The Meetups were originally started in January 2014 as a way of meeting creative people outside of work and to make time for learning new skills and crafts. Craft’d came about as a business when these events started becoming more popular and we were asked to run creative activities for different events in Shanghai. All of our Meetups were held in very understanding restaurants (we got odd looks when we brought out craft knives, crochet hooks and even saws sometimes!), but we were limited in the type of event we could offer - hence the opening of the Craft’d Studio! This means we can now use the sewing machines, make candles, paint and so much more!

Untitled Untitled

Have you guys always been creative?

Mae: Yes. I grew up with my aunt preparing so many crafty things to do after school and on weekends so being creative was encouraged at home since I was really young.

Natalie: I’ve always loved making things, especially with fabrics, and my mum is a seamstress so I learn a lot from her. But I think it all really took off since discovering Pinterest!!

How easy was it to set up a workshop here in town?

Natalie: I think for us we were lucky to have the Meetup community already built up, as we knew that group of people would be interested in the activities we offered. Plus, nowhere else really offered creative workshops outside of painting and art (which is not at all my strength!), so we got a lot of interest from magazines and events.

What was in the lanehouse before you held workshops there?

Natalie: It was an apartment, but the space seemed perfect for what we wanted, plus the kitchen has been especially helpful!

Untitled

What are your day jobs in Shanghai?

Mae: We are both kindergarten teachers, I work full time and Natalie works in the morning.

Mae told me there are so many charities and community events your guys are into, can you share some links or point me where I can find out more?

Mae: We have tried to work with charities as much as possible. We ran arts and crafts classes for a migrant school via Stepping Stones last year, which we hope to start again soon. We are also working with the Shanghai based charity The Giving Tree - for every class booked and every kit we sell, we donate a ‘teachers kit’ to be added into their teacher bags, containing things that we as teachers have always found helpful in our own classes (praise stickers, chalk, pens and so on). We also run a monthly class making pillowcase dresses for the charity Dress a Girl Around the World, which has the mission of giving every girl in the world their own dress.

Untitled Untitled Untitled

The term 'Made in China' has got a bad wrap in the western world, mostly showing bad quality, but what's something Made in China that you're amazed by? That you love?

Natalie: I love the paper cuttings that are popular here. I would love to find someone here who could teach us how to do that. Also xiaolongbao, am I allowed to mention that?! I looooove them!

What did you think of Shanghai in your first week here?

Mae: I thought it was very bright, very modern and fast-paced. I lived in an island most of my life so it was all very different and very new to me.

What can you do or find in Shanghai that you can't do or find anywhere else?

Natalie: I love that Shanghai has so much potential. Craft’d is really a dream come true that would take a huge amount of time and investment to start up in the UK. The expat community is also very supportive which makes a big difference. It really is a city that gets under your skin - we are in the majority of those who planned on ‘only staying 2 years’!

Untitled

Thank you Mae & Natalie! I agree, Shanghai has so much potential for everyone and thanks for sharing a little about Craft’d Shanghai with us! There are lots of workshops for adults and children… and as Mae & Natalie have backgrounds in schools, they’ve got a great understanding what children want to make! You can visit their website, or look at their wechat (craftd_sh) or Instagram!

Also, FYI the xiaolongbao Natalie mentions are Shanghai's famous dumplings... and are actually handcrafted little pieces of perfection! So yum!

Friday, 9 October 2015

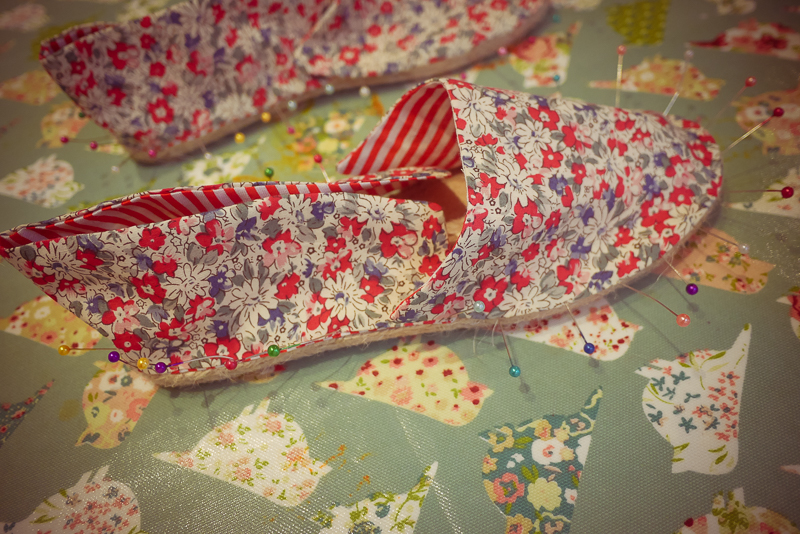
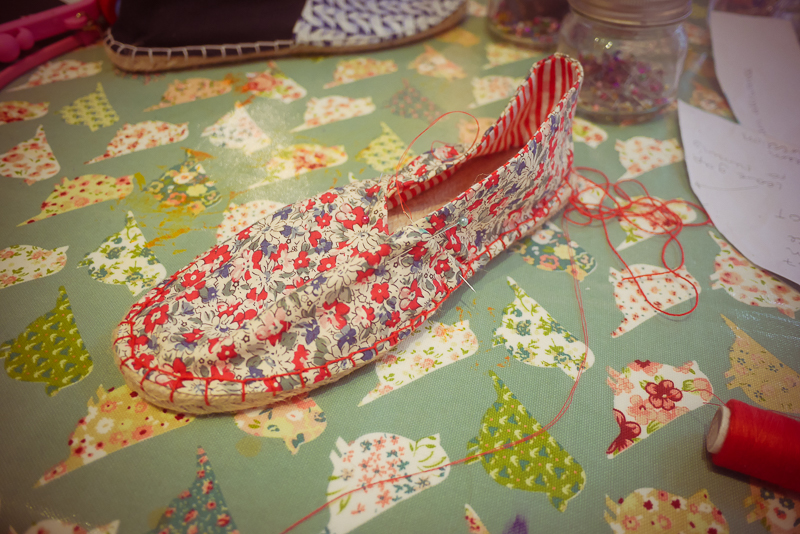
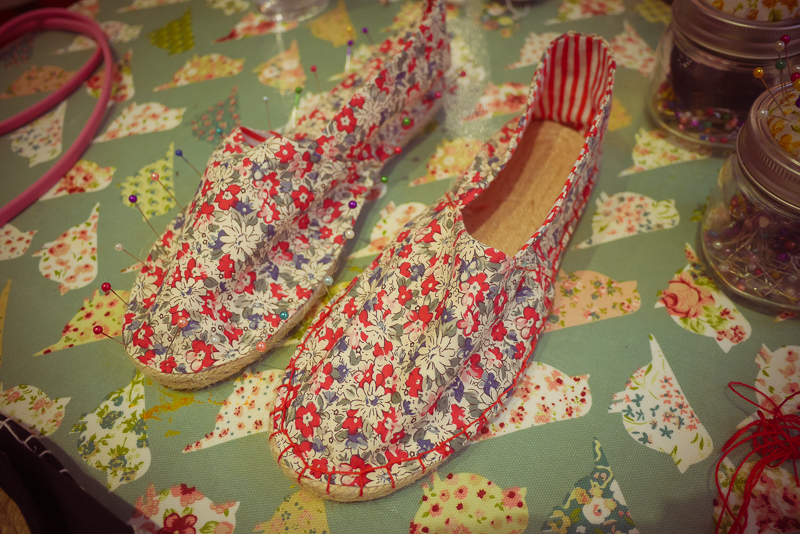
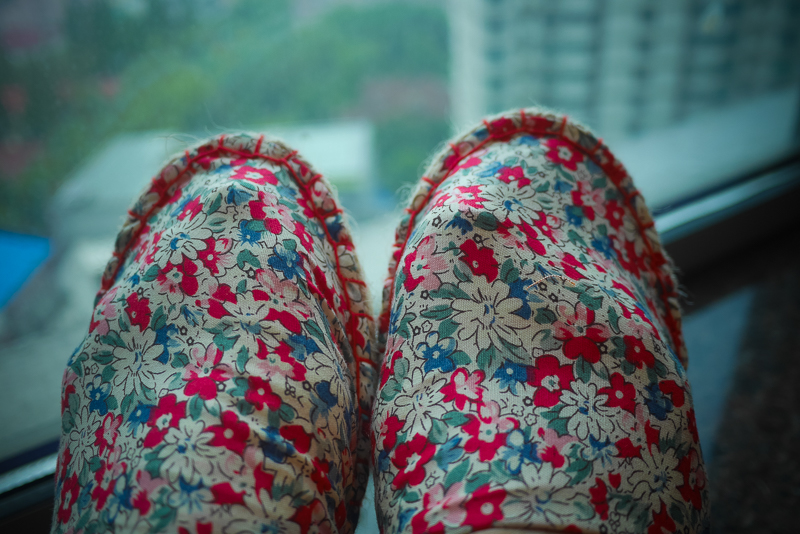
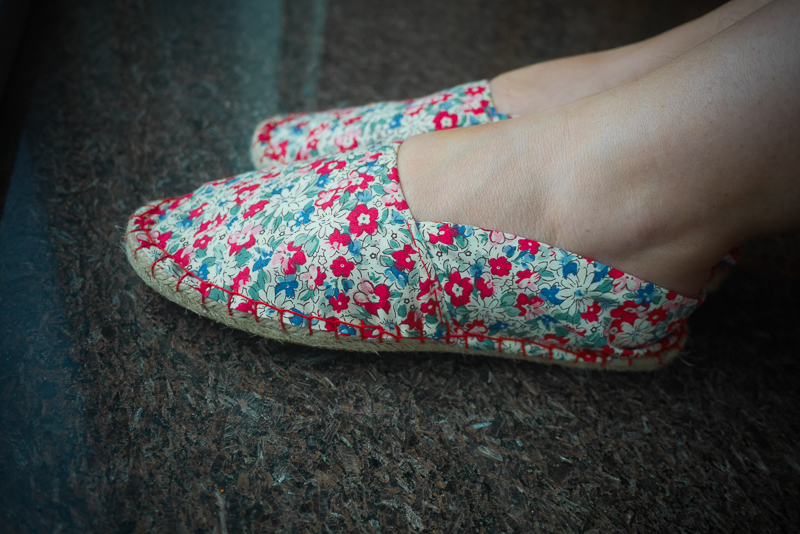
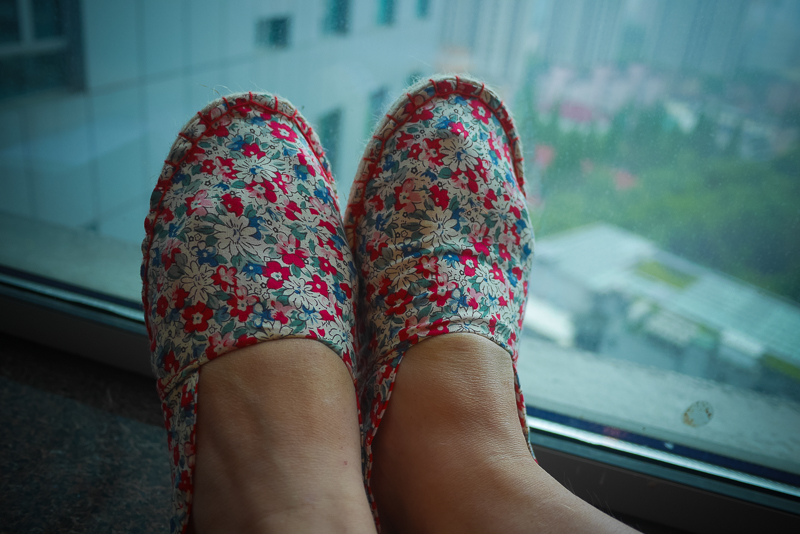
Making: Red Flowery Espadrilles

A few weeks ago, there was ANOTHER Chinese holiday (it constantly feels like it’s party time/holiYAYs at the moment) and I met up with Mae from Craft’d Shanghai at their new little studio just off Fuxing Lu here in Shanghai for an Espadrille Workshop… and as they’d had a few last minute cancellations, I was the only one for the morning session! So luckily Mae wasn’t shy at telling stories, so we spent the time making and chatting about our lives in Shanghai and before we came here.

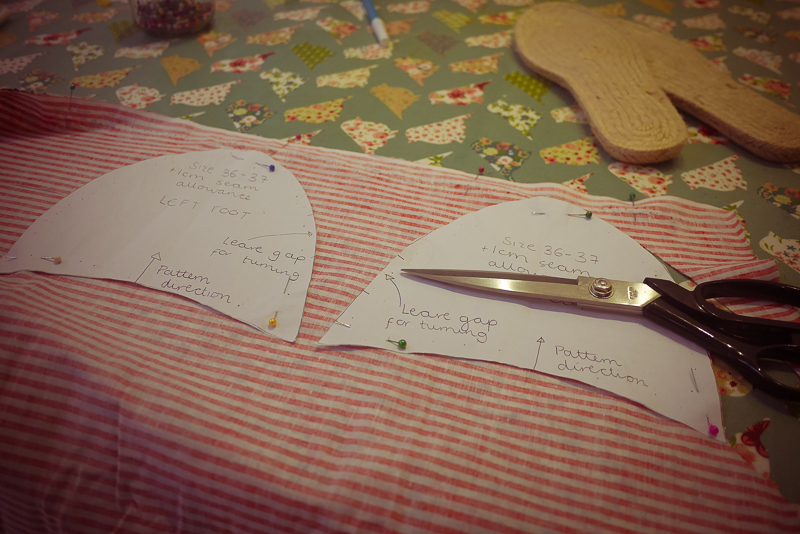
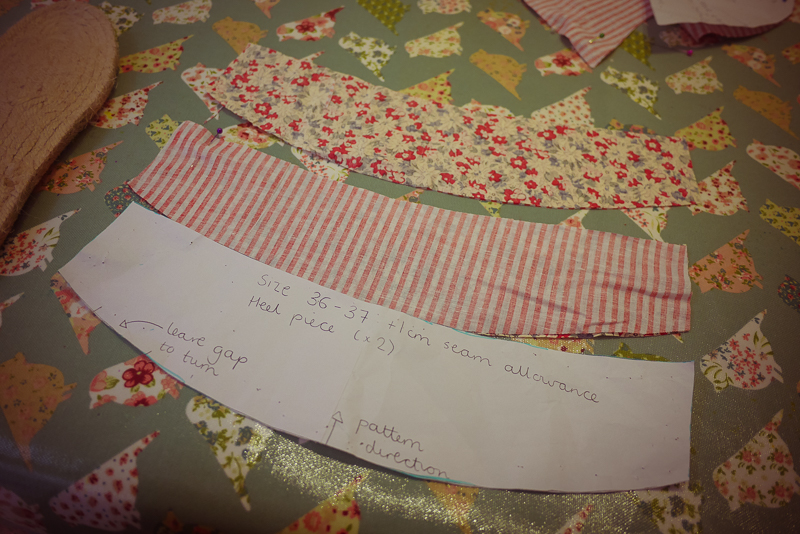
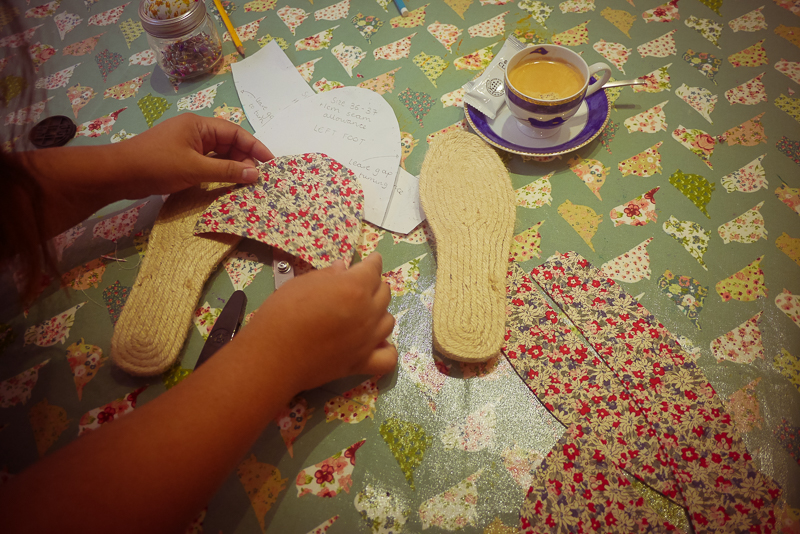
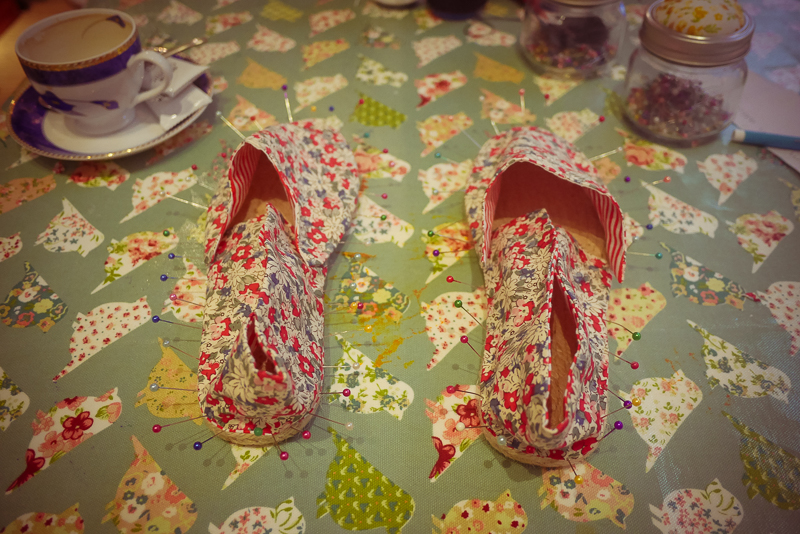
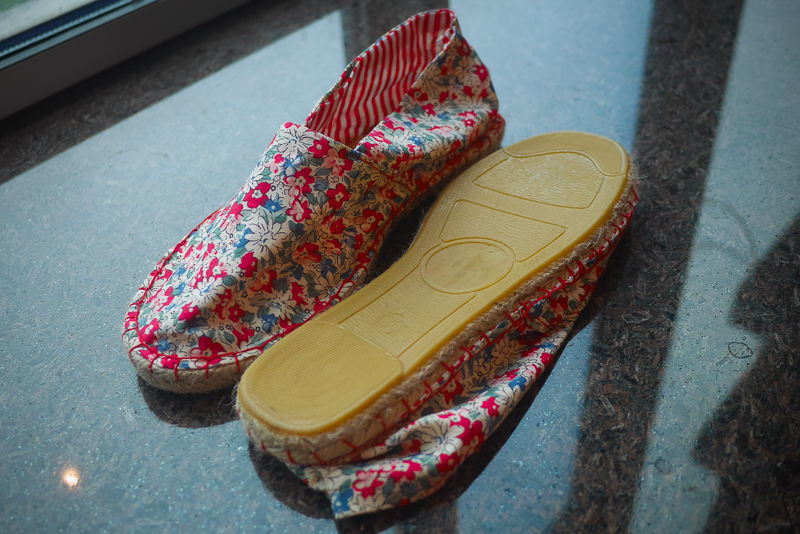
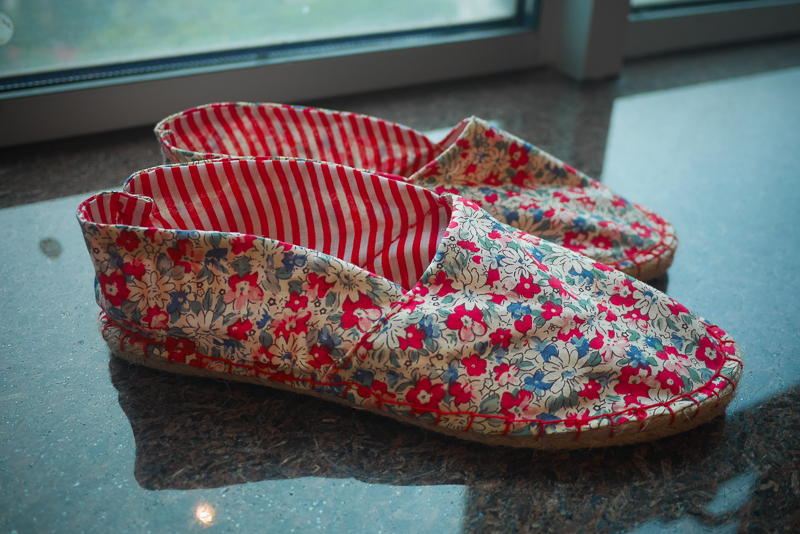
So the SHOES! They are MUCH easier to make than I’d imagined.. and really quick to make them… as the actual template/pattern is quite small and the sewing part is very minimal… the time is in the stitching it all together. And for me, taking the time to choose the fabric… oh the agony of choosing from someone else’s stash! Craft’d is very equipped with all the woven for this kind of shoe, so I wanted a two tone but once I decided on red for the main colour there were about 10 different options to make up… so settled on floral and stripe inside.

DIY Espadrilles DIY Espadrilles DIY Espadrilles

I’ll write up a blog post soon about Craft’d Shanghai and their workshops… but I had such an enjoyable morning taking my time with these shoes. It’s so great to chat and craft.

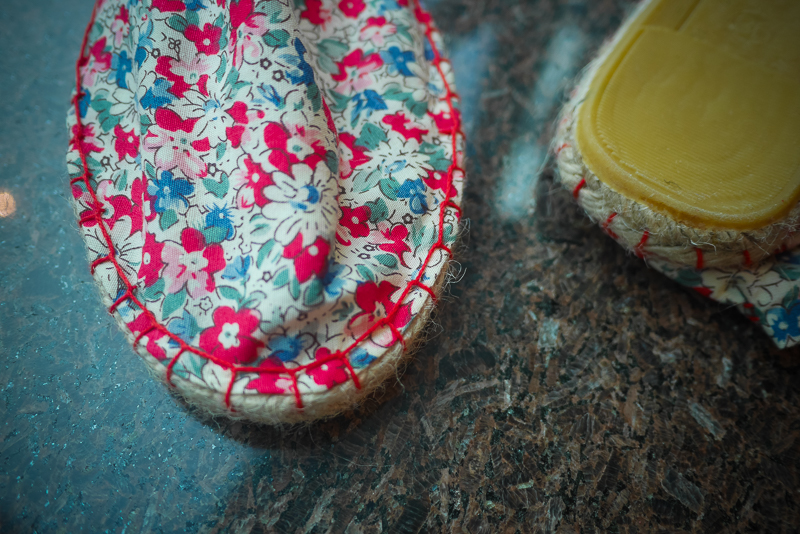
Like I mentioned the red stitching is the most time consuming and you also want to get it very neat because it can look unbalanced really quickly if you rush it… I have no idea what the stitch is called…. but you rely on tension a fair bit as you push the needle and thread through the sole of the shoe and then make sure you have the top stitch in place … um, it’s hard for me to explain without holding the shoes & thread! It was great to make something so neat though, so very happy I didn’t rush them!

DIY Espadrilles DIY Espadrilles

While it was super fun to make some shoes, once I’d made the second one up at home (the workshop allows enough time for the first shoe… but you do the second at home… unless you’re a stitching whizz!), I don’t think they’re the kind of shoes I wear. They feel like slippers to me… and are still a bit gapey at the back even with some darts at the heels.

I’ll deffo use these around the house (because we all wear slippers inside all the time!) and may even use them as my special sewing slippers when I start sewing classes again. BYO slippers!

DIY Espadrilles

x

Friday, 21 August 2015

Voila: Two Dresses for Summer Part 2

We made it! Ah! It's a Happy Friday!

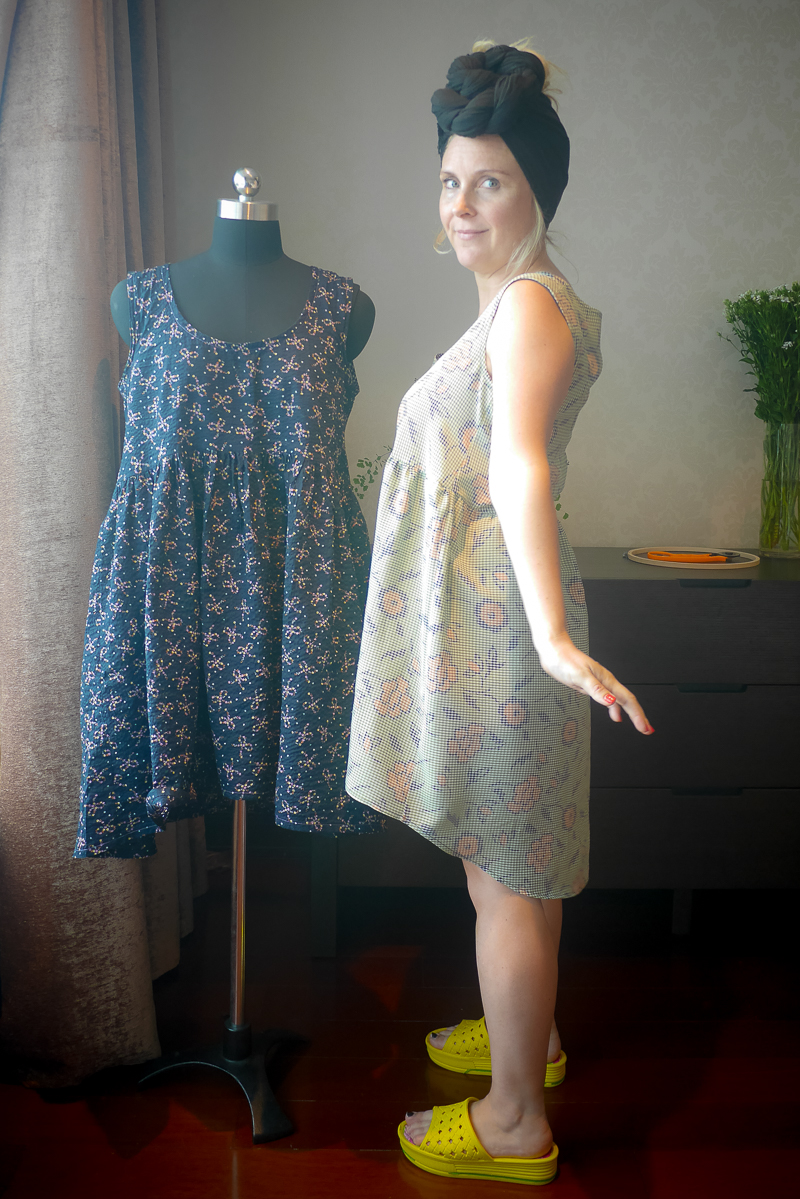
Here's my second version of the summer dresses I've made recently; for some reason the entire week has flown by due to sickness in our house! *glee* being ill in summer just hits you for six! *gush* love being sick with a toddler around! *squeal* (actually genuinely here) I watched the rest of Orphan Black season 3 and now all of Sense 8. I am officially addicted to Sci Fi TV shows when I'm sick. Learning new things all the time about being me!

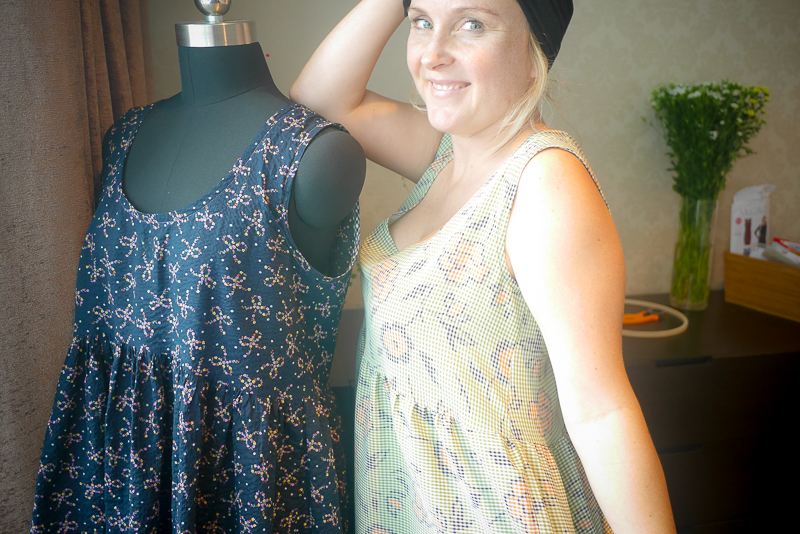
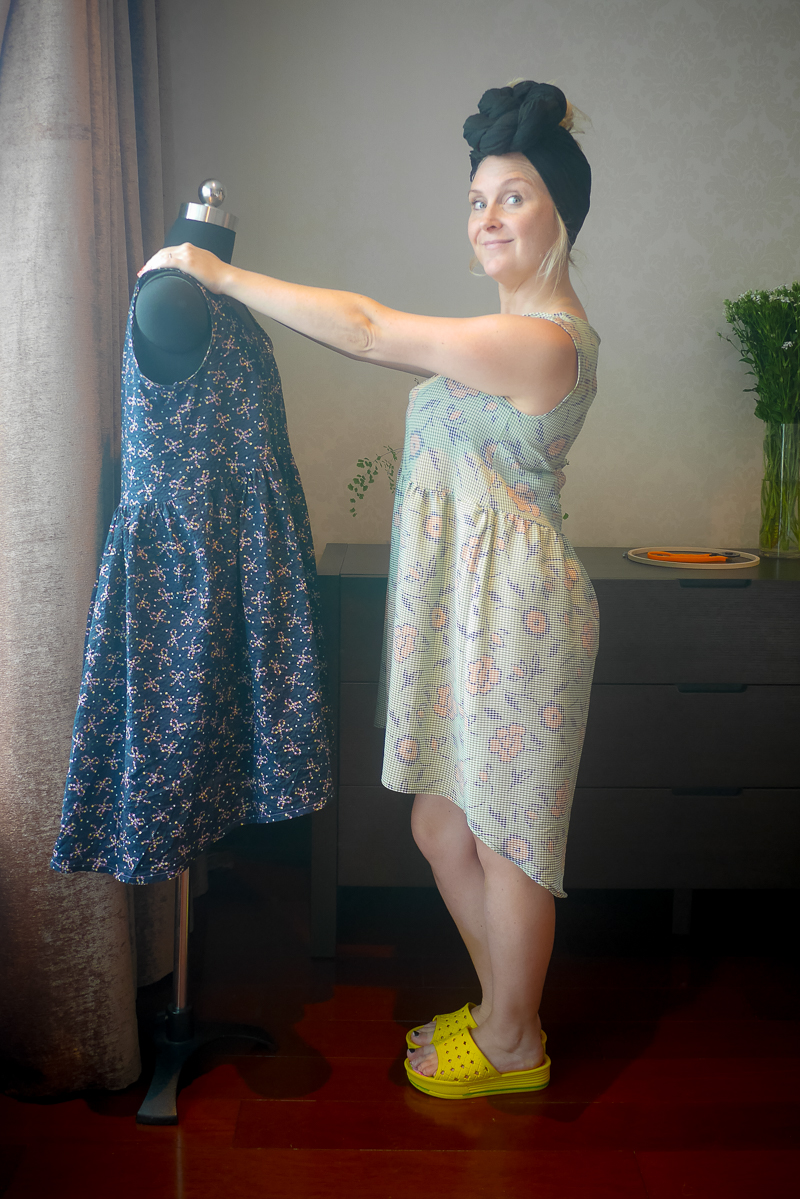
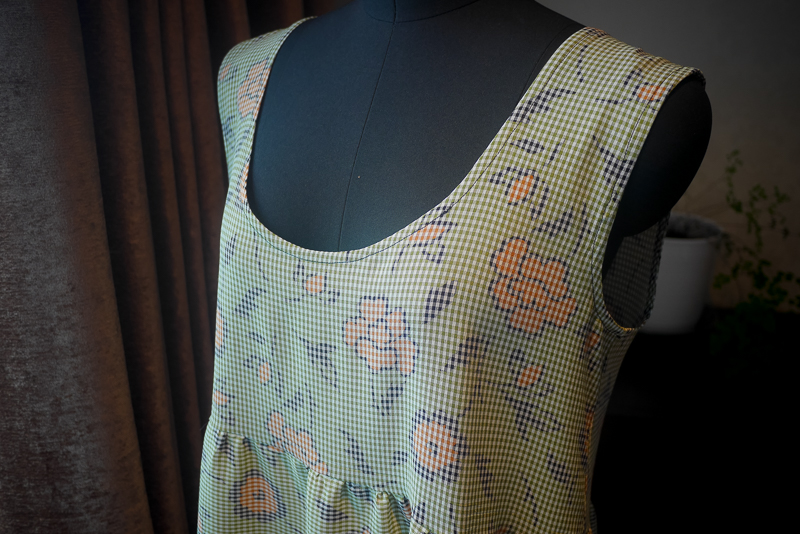
This fabric was also from Taobao, and while it's not my usual colour, I actually just picked it because it looks weird. I thought it looks like pixels like the flowers are hidden underneath gingham pixels or something. I like it. It also has a little stretch in the fabric, and while I used the same pattern for the bodice pieces as my black dress, this fabric is a lot more floppier, so stretched out a little differently widthwise... I noticed this week after wearing it a bit that I have to wear a certain bra that doesn't show too much of the boob because this dress is way scoopier.

Untitled

See?

I just checked the Taobao store where I got this weird fabric, and there's Liberty fabrics (if you're into that stuff) for really cheap! Maybe they're fakes? It's so hard to know!

For this dress, I cut it the same, but had less fabric for the skirt pieces... I decided to sacrifice a little for bias binding tape, so that the neckline/armholes had the same fabric... so I only had about 50cm to 70cm for the skirt pieces each... and actually turned them to be on the opposite grain (what's that called again?) so that the longer widths were gathered, to make a fuller skirt. The print pattern is so weird, I didn't think it'd be noticeable and I like the effect it gives the skirt.

Untitled Untitled

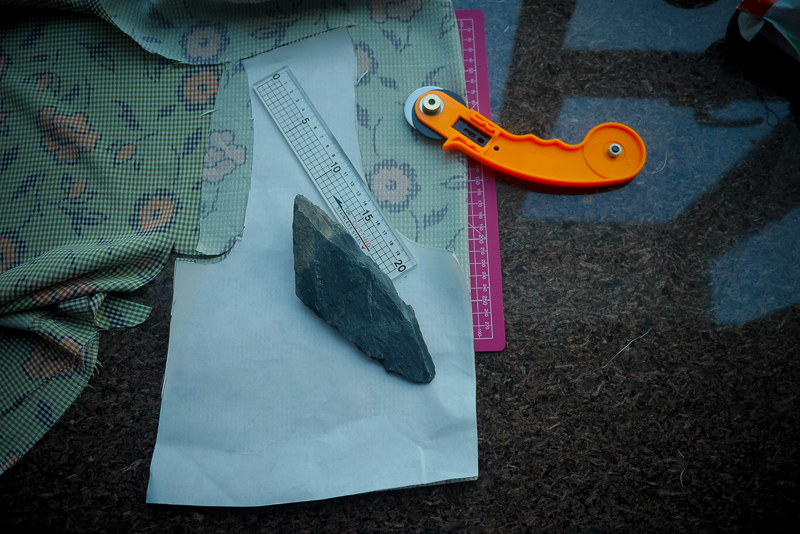
There's the front bodice pattern piece above, and I kept the back bodice a little longer to accentuate the high low hem. But in this dress, I had to go with what fabric I had left, and so made the skirt this length and slowly graded the back to match it... it's not perfect, but I made a very thin hemline so it's ok for now.

The neckline also sits very flat! Yay! Very happy with that!

Untitled

And this is my "I'm not sure I like this one" face:

Untitled

It's hard fabric to photograph too, some shots came up really overexposed. Don't stare at the dress too long though, it'll make you feel weird.... I think it's like stripes on television, sometimes it doesn't work...!!!

BUT, I wore it a couple times in the last week and it IS cool, and it's much better than I thought... after making the two-for-one I thought the black one would be the best and I'd give this one away... but I like it now.

And, since Carolyn asked about the turban style attire with my last post, here's my blog post from wintertime on wearing the 'urban turban' and where I found some great videos on tying different styles! I've often liked a headscarf in helping pincurls set, but have a read of my post for some more thoughts.

Lastly, next week, it's my BIRTHDAY and I'm going to be hosting a GIVEAWAY! So if you like sewing things (and sewing patterns!) check in for that one (and to wish me happy beeday!) xoxo

Dongmen Lu Fabric Market

Happy Wednesday! Time to get some fabric inspiration from the Dongmen Lu Fabric Market here in Shanghai! Can't believe how quickly 201...