Showing posts with label skirt. Show all posts

Wednesday, 11 May 2016

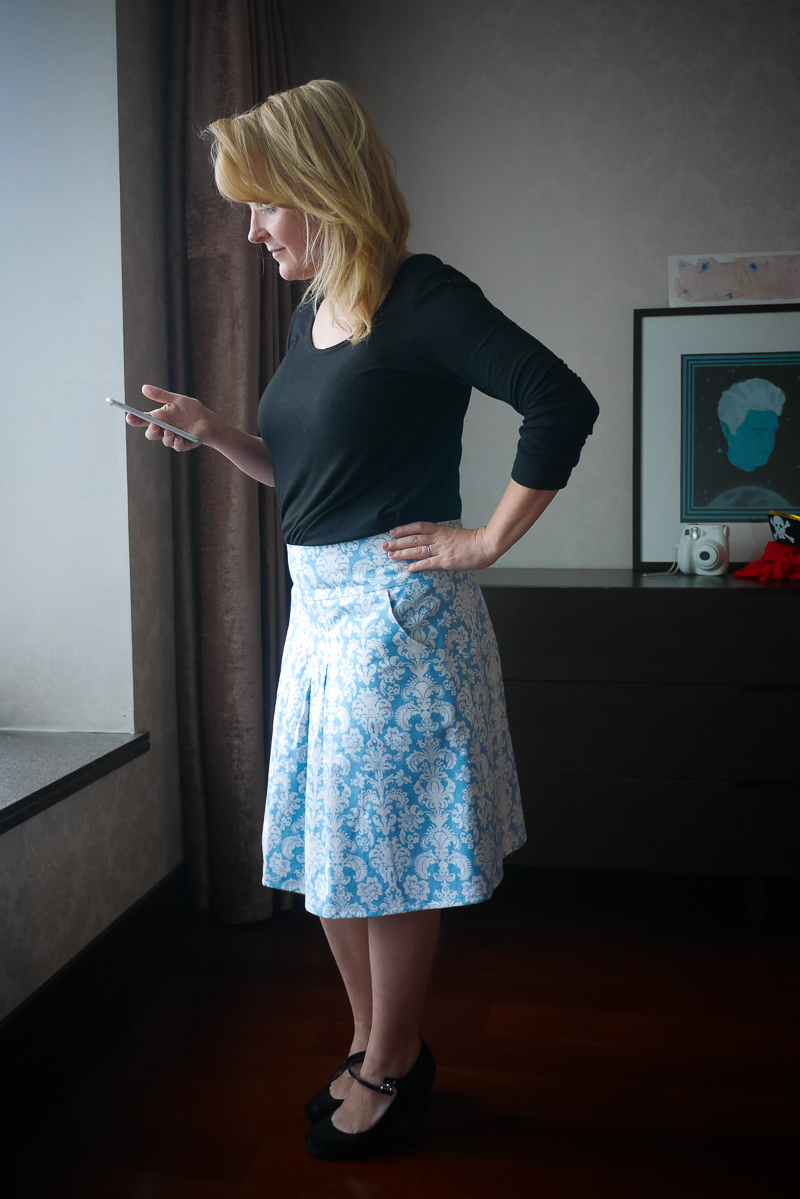
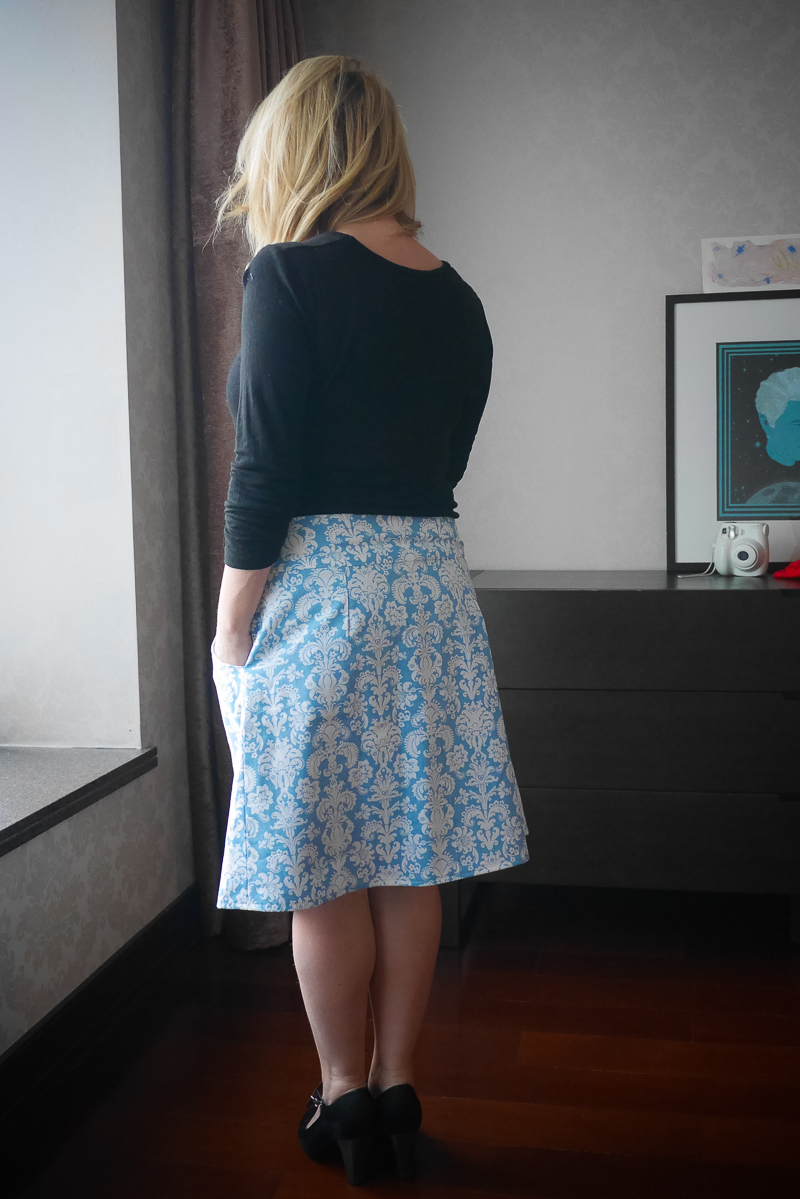
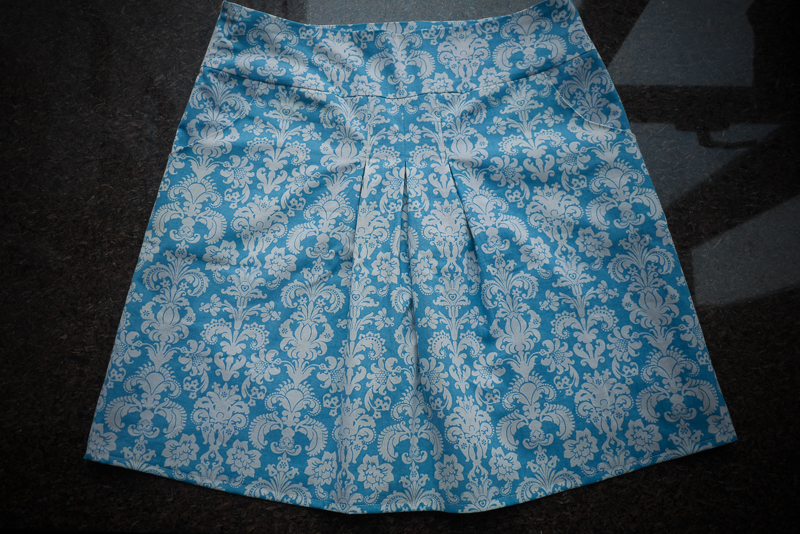
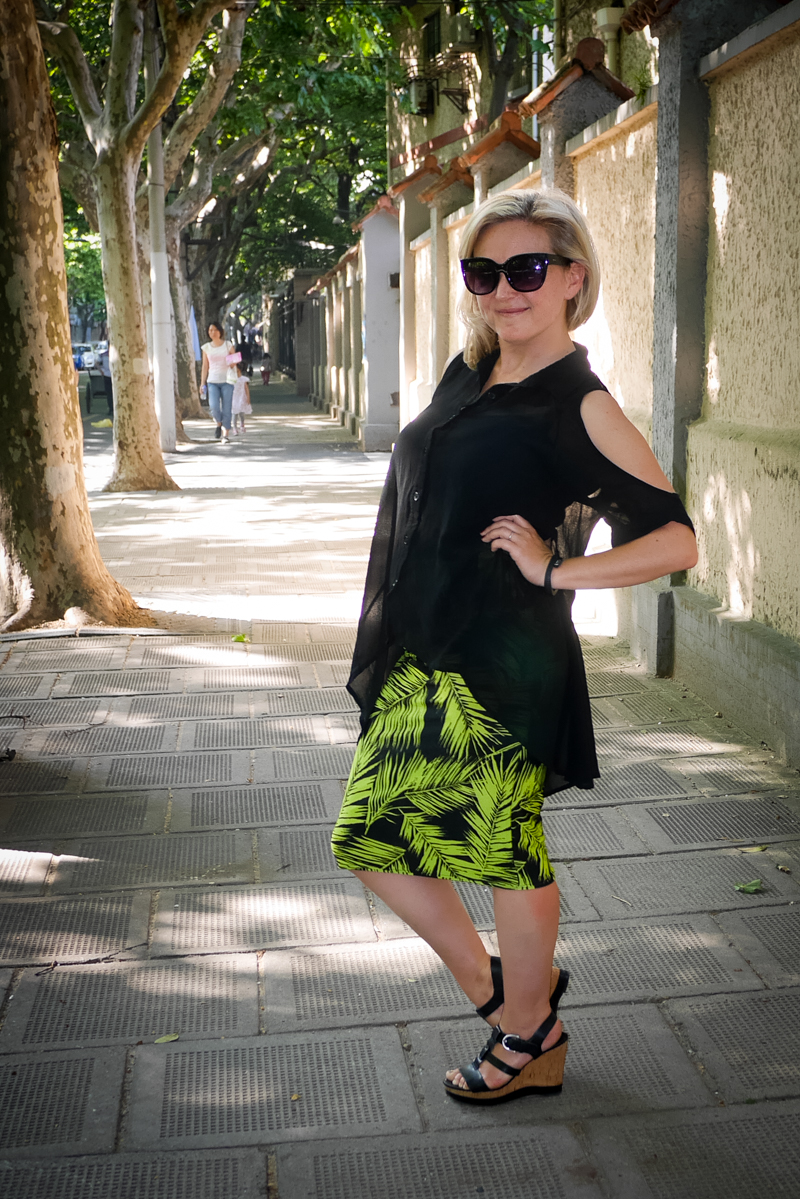
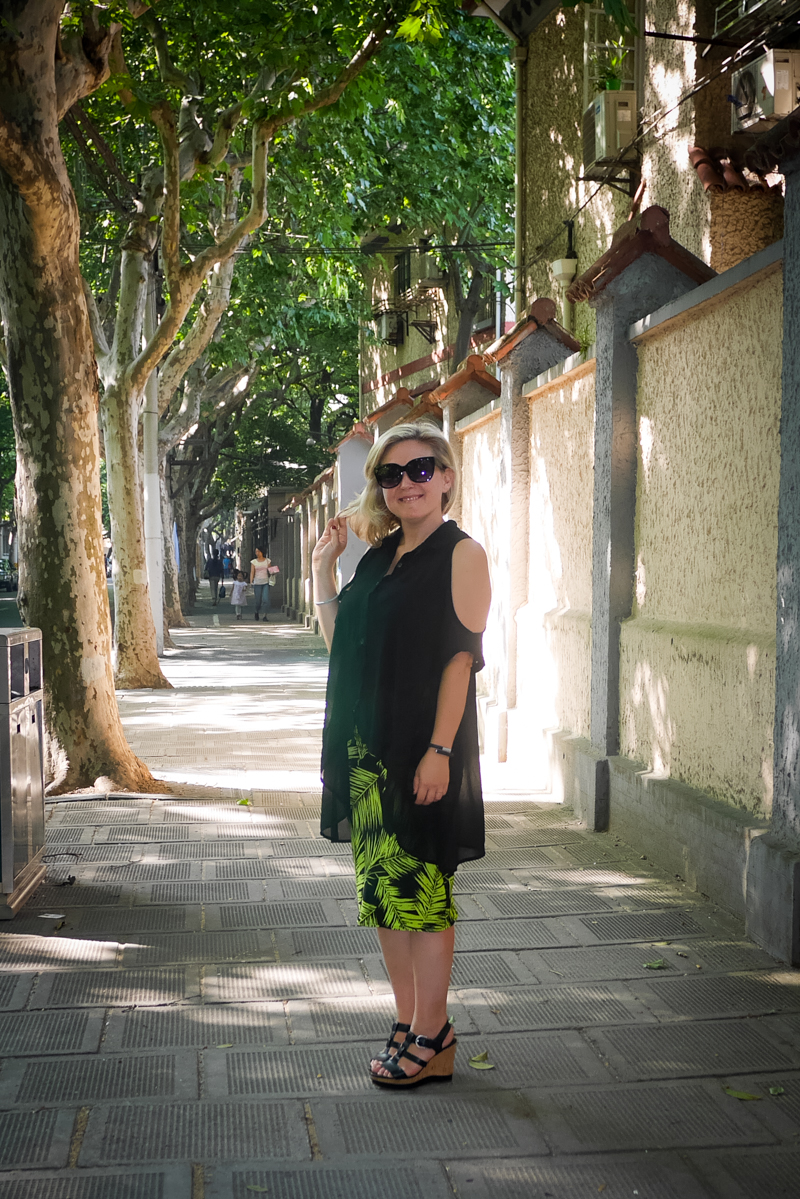
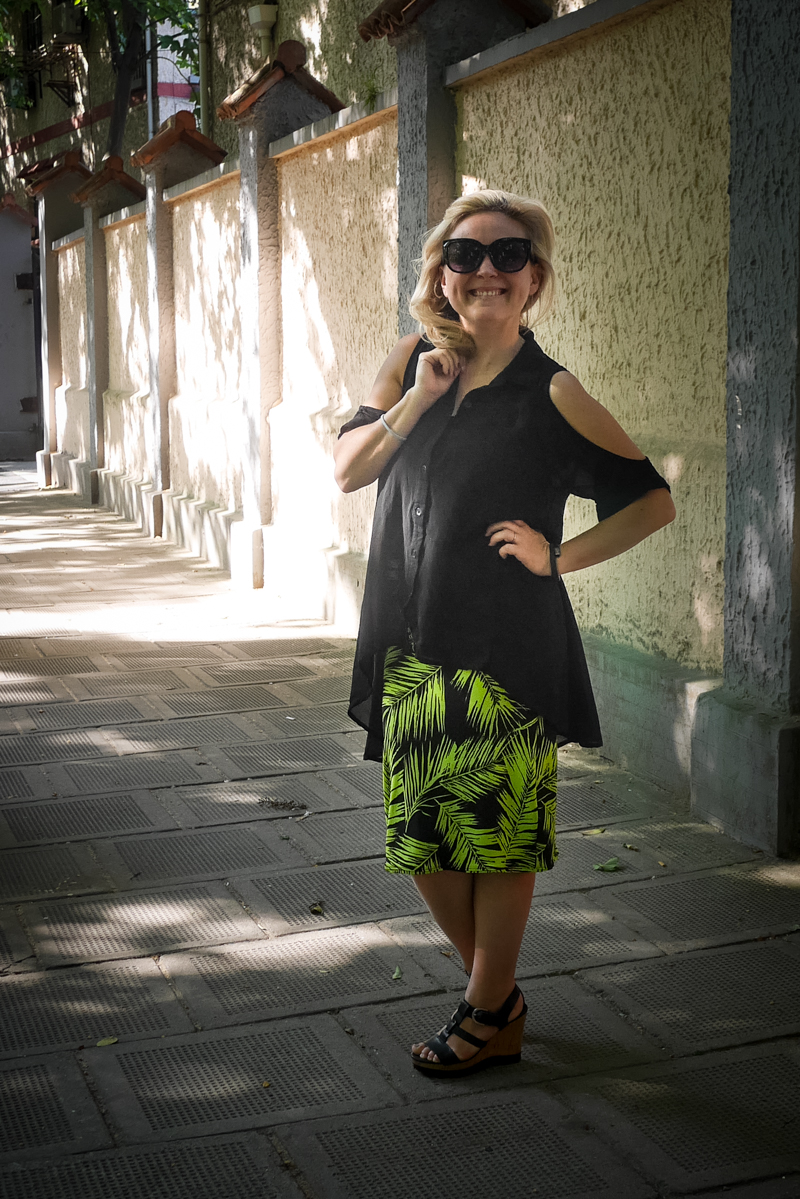
Voila: Springtime Gathered Skirt

Last week the girls at Craft’d Shanghai asked me to host a “Next Step” type sewing a class… they’ve been organising the 'learning to sew' classes for a while, making aprons, pillowcases and totebags… they’ve added zippers to bags and made infinity scarves like absolute legends. But they hadn’t made any other clothing… So, hence the “Next Step”… I was more than happy to host the class, but haven't really taught sewing before, so I emphasized the DIY heavily to all my sewing skills and we talked about lazyseamstressing a bit too!

The day was 4 hours of 3 students, and definitely using the blogs of the sewing community world, I came up with the few steps below:

- Measure your waist

- Measure the length from your waist to where you like the hem to be

- Really puffy & full: at least THREE times your waist measurement

- Only a little puffy: at least TWO times your waist measurement

- The skirt has 2 rectangles: one piece is your waist measurement plus 2.5 cm for ease & 2cm for seam allowance. second piece is the skirt with the width being your preferred measurement, and the length being your length with added at least 4-10 cm for the hem allowance & seam allowance.

- SEW it all up following these tutorials: Gertie's Gathered Skirt and By Hand London

Before the class, I made this skirt as a test to check it all worked… and 100% it’s a skirt, so I think the method worked! And by the end of the Craft’d class there were at least 3 skirts close to finishing so YAY! I was going to make it fuller, but opted for a longer swishy skirt and used the actual width of the fabric as my measurment - so it was *just* two times my waist. LAZY seamstressing but less fiddling around. The 2.5 ease also might be a little toooooo much ease for this doesn’t sit on my waist properly, so I’ll try a little less next time.

It looks so SHORT on the windowbench like this... I must be quite petite, for it feels so long when it's on me! For the first set of photos I paired it with the Lilith & Eve top I made in wintertime, it's a little wonky on the hem because I sew-ed it up terribly but still lovely and light for the spring humidity.

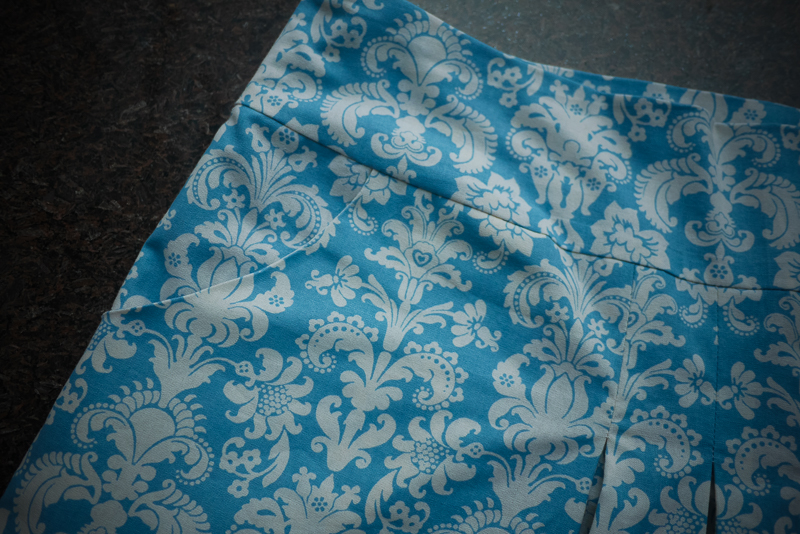
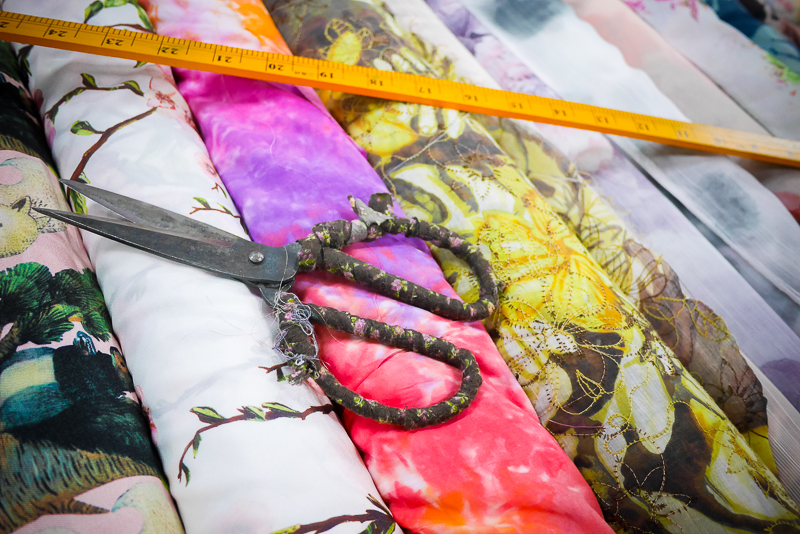
But yes, pretty much, the fabric is from Dongmen Lu Fabric Market here in Shanghai, it’s light cotton rayon or something and I cannot walk past a print like this without purchasing! I love it. It was probably 35RMB a metre so maybe $6 Australian… lovely for springtime!

WOW, it's been a busy year for me so far... I've loved being part of our women's society and all the other busy bee things... AND we're just about to move house! I'm keeping my Instagram updated on the day to day things, and fingers crossed we won't be without internet again - my modem/router died a few weeks back CANNOT EVEN - while we shift. Hoping the China Telecom peeps will be connecting it tomorrow!

Hope you're well! Miss you and hope to see what you're sewing for spring/autumn when I get to read my Bloglovin' tonight!

Wednesday, 2 March 2016

Viola: She Wore Green Velvet!

As a David Lynch fan, I had to with the title of this post! And though I’m wearing green and not blue like the film, there’s a bit of the Blue Velvet theme running in this skirt! On the surface, it appears all beautiful and happy green (although very wintery!)… but below, beneath the surface, things are a bit different!

The velvet-ish fabric is from Dongmen Lu Fabric Market in Shanghai, in the Basement. I hardly go to the basement, mostly because I forget it’s there… but it does have some different textures like vinyl, stretch velours and other stranger tulles and satins and a little cheaper in price and quality than upstairs at the regular ‘tailor’ part of the market… so it’s fun to have a poke around there. I once saw a shopkeeper burning a wood sign… like carving with hot tools to get a burnt shop sign… so it can be a fun eye-opener DIY explore too!

The shopkeeper with the velvet said it was ‘silk’ and the rolls were in bold colours and wider and taller than me… I’d say about 10 rolls of them in her tiny shop… I almost got some red but opted for trying green (trying to find more ‘jewel’ colours to suit this hair colour of mine).. and I think it’s a great colour… it’s not exactly too emerald or too bush colour (have no idea if that’s a real colour - but you know that bush/khaki green colour?). ANYWAYS, again not knowing enough Chinese I couldn’t ask more about the fabric, it seemed cheap enough so I don’t think it’s super good quality and the pile of velvet is only slight… not higher than 5mm in thickness so I doubt it’s good… but it was slippery to sew with and irons weird like other velvet or velour. It doesn’t have a right way or a wrong way though… so if you’re a velvet expert let me know what you think…

Before making the Brumby Skirt, I firstly tried a simple shift dress with sleeves… but the pattern I used had both a plunging neckline both front and back with thin straps… so in my haste to make a dress before Christmas I didn’t carefully research how to sew with velvety fabric, opting for the straightforward fuck it approach, I then ended up with frayed seams that broke out… and wonky necklines with the attached cotton lining. IRK! I guess it was only just over a metre of wasted fabric though, because I had enough to cut this length Brumby Skirt… I must have got 3 metres of the stuff for about maybe around 20 bucks Australian.

The Brumby Skirt Pattern was a present for my Birthday Giveaway last year, kindly gifted by the lovely Megan Nielsen to myself and giveaway winner Kathryn… and it’s a nice familiar feeling to use one of the MN patterns again… very straightforward and helpful… I made version 1 with the pockets and the less fullness (due to the velvet, I treated it as thicker fabric) but made it a little longer to see what the length would look like for winter… I’m not super into longer skirts, but thought I might be ok with this one and if not I’ll chop it short!

I love how the velvet hangs around the pockets, very happy … because it’s super tricky to topstich (it looks bad) velvet, I just left them unstitched but otherwise made no other changes to the pattern… it’s a size S, with a 71 cm waist, and perhaps on the snug size as the zipper needs a big tug to get over the seam of the waistband…

Velvet like this, as it’s pretty cheapy and flowy, was hard to press. and it’s still showing my original bad pressing (I since added thick folded knitted fabric ot the ironing board to help and hung it for ages in the sun to get rid of the iron board pattern - most notably was around the middle seam)… in retrospect, I should have perhaps ditched the middle seam and just cut the front piece on the fold… but also, I probably should have paid more attention the some of the seams on the inside as they're fraying like crazy…. so hence my David Lynch vibes of something terrible on the inside.

Whoa, I cut that zipper off in a rush too - didn't even notice that rough cut til now!

Oh well, testing new fabrics is my vibe here in Shanghai… I'm happy with this one! It's probably going to be heap nicer to style in a few weeks from now... it was freezing again when we took these photos... and so dull around Shanghai. I need some springtime delightful colours next I think!

Hope you're having a good week, and hooray for Spring! Thank you again lovely Meg for my birthday giveaway present! WOO!

Tuesday, 17 November 2015

Voila: Couture Nomad Taipei Skirt

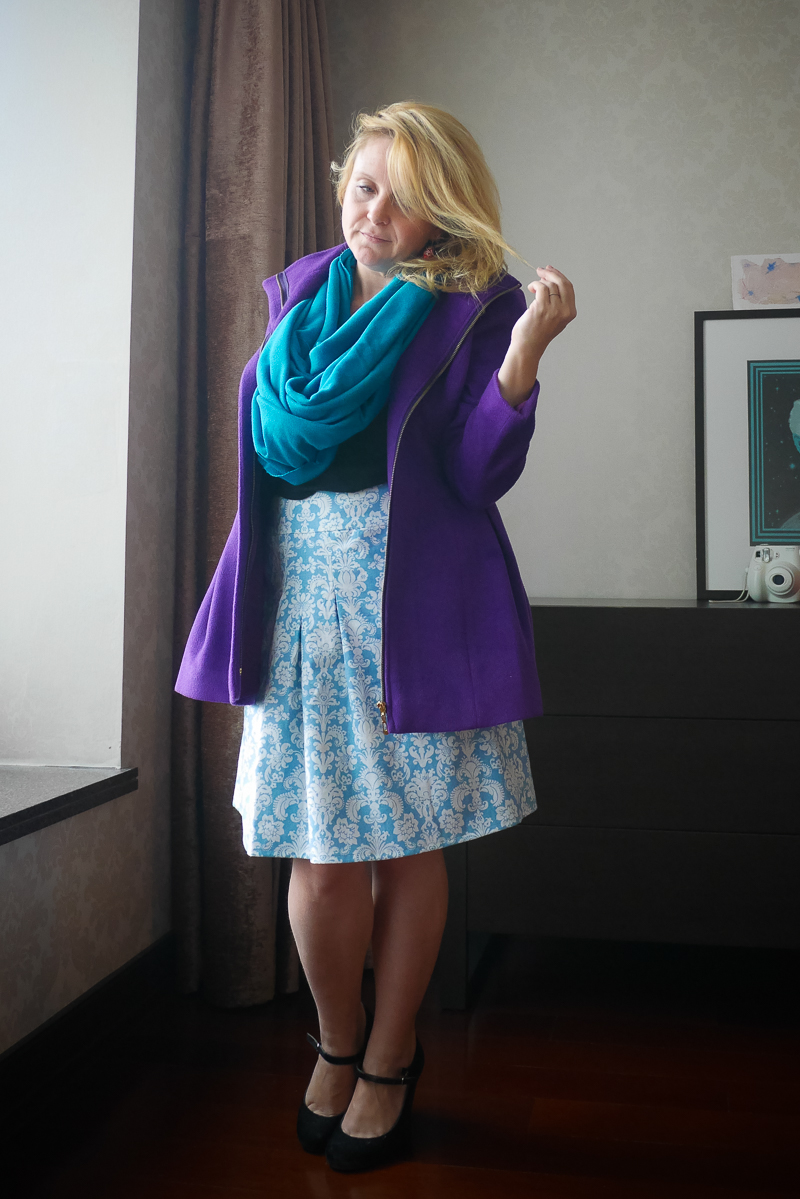
Hey! It's my David Lynch print & I in matching blue!

So happy to show you this skirt I started & finished at Sewing School this last month! Yes, my sewing classes with Couture Nomad Shanghai have started again for the year and I’m again surprised at how talking ideas over with my teacher and her hands on approach helps me so much… the work I do there has been SO neat, and I feel like punching the air at the end of every step.

At home however, I whizz through and muck up the hem a little (luckily just the lining) as I wrapped the whole thing up… but well-rounded is a good way to consider my sewing approach… fast & slow, neat & messy… I balance myself out.

couture_nomad_skirt_taipeicouture_nomad_skirt_taipei

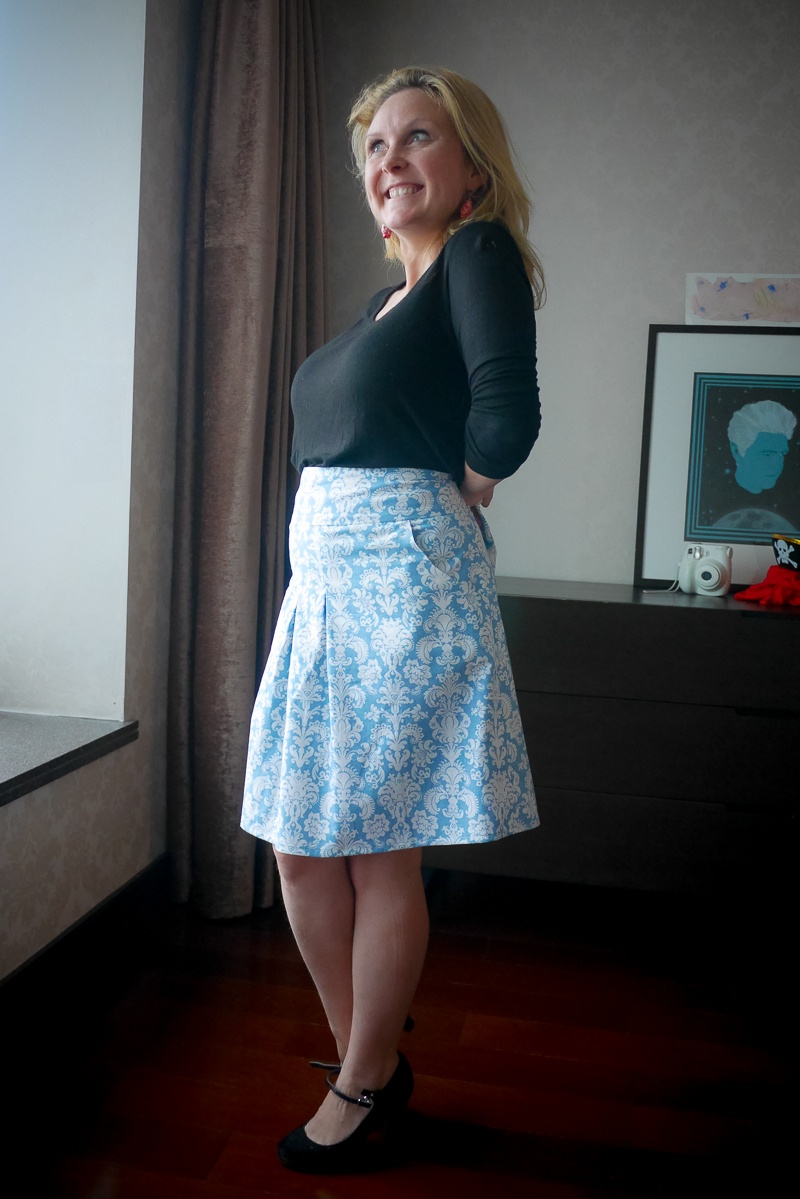
So, the pattern is part of the Couture Nomad sewing school collection, called Taipei and shows you a simple A shape, with a wide waistband and pockets. I traced it in a size M, using my lower waist just above the hips instead of that high waist part… I do like highwaist on my hourglass, but this would hang a little lower for shirts to be tucked in… but in the month after I finished it, I have lost a bit of weight so it hangs very low on my hips and with slinky tights might just slip off!

Next time, I’ll make a S, and because this is on the fold, it’ll be easy to change the traced pattern pieces … slice off 1 cm on the fold and change the pleat/darts.

My FAVOURITE part this time was the cutting… I REALLY wanted to match up the wallpaper pieces (I don’t know what this pattern is called, I just call it wallpaper pattern… anyone know?) on this fabric. It’s a second hand/thrifted cotton from my Mother in Law (there’s several of great op shops in her part of West End Brisbane, if you know the area!) and she sent it to me recently. It’s a bit light for autumn, so Teacher Catherine suggested I line it, and that’s just some cheap cotton I had from the fabric market here in Shanghai.

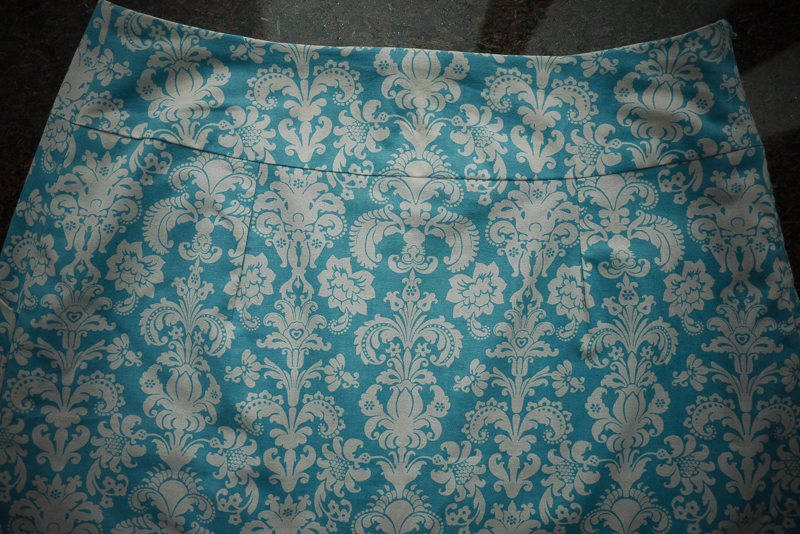
So for the yoke, skirt pieces and pockets… I just HAD to pattern match and it was so easy to do using the tracing paper … when I settled on the skirt pieces on the fabric… I overlapped the yoke pieces by 1cm each side (the Couture Nomad seam allowance) and traced the wallpaper pattern on the tracing paper… then found the same piece on the fold further along the fabric. As I traced & cut at Sewing School for this one, the bench was lovely and long and at standing height… if this was at home, I’d have hunched over the floor and wouldn’t have the space to see it all properly… I love having a good work bench for cutting!

couture_nomad_skirt_taipei couture_nomad_skirt_taipei

I did the same with the pocket pieces… lined up the sides, the seam allowances and traced the fabric pattern… I’m sure it’s not that surprising to some of you legends of sewing, but I usually just do it by eye, and sometimes stuff up the underside piece. What was interested with this fabric though, the middle of the fabric (with selvages together, wasn’t the middle of the pattern… I had to find the lovely little flower/wallpaper bit that looked like a central piece and fold along that. Thankfully all on grain.

And YAY, it’s all perfectly matched. I could *cry* with happiness!

couture_nomad_skirt_taipei couture_nomad_skirt_taipei

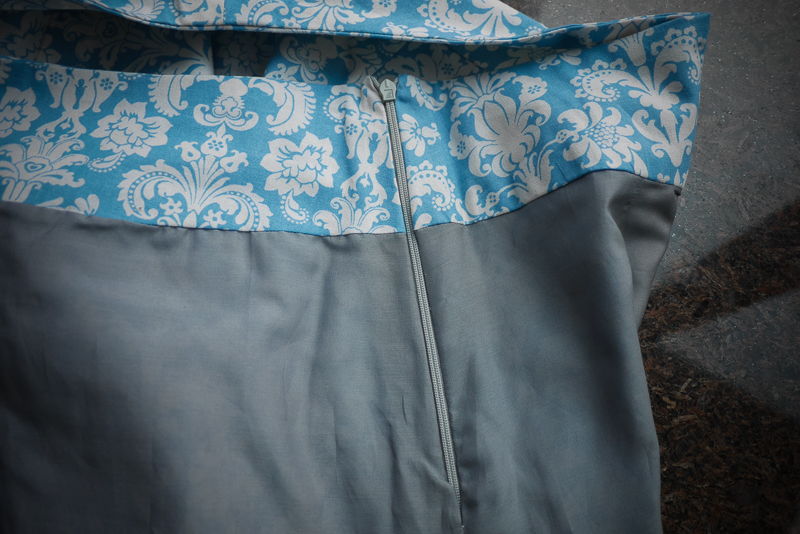
A bit sad it doesn’t fit but it’s a lovely shape, and something different for me, so I’ll make it again sometime. The back is lovely too through the middle… and I also am VERY happy with my seam matching at the yoke around the zipper area… it’s invisible and took a little time, pinning and hand basting REALLY close to the teeth. I’ve got some work in progress photos that I’ll post in my Sewing School update soon too… so proud of this one!

It’s raining a lot this week, but if I was a woman of the world, and went to the office or something other than running errands, on my pushbike often with a 3 year old on back… I would style it like this… but with tights!

couture_nomad_skirt_taipei

Next up at Sewing School will be a top, but (always contrary) I might make it a dress because it could look cute as a dress, and I really want to try different textured sleeves. Off to the fabric market this week to have a look for actual WOVEN fabric for a top … I’m never that keen on woven tops, so why not make one!? I love trying new things at the moment. My fit & flare dress isn’t finished yet and as it’s too bright and light, I don’t think my usual favourite shape IS my favourite shape right now… so weird… I still think the season & the city are playing with my moods with what to wear & sew. Maybe it’ll settle down soon!? I feel a little crazy!

couture_nomad_skirt_taipei

Have a lovely week, and thanks for reading as always darling!

Tuesday, 23 June 2015

Voila: Neon Fern Skirt


Hey, wow, it's Tuesday already! Yesterday was a work holiday for Husbie, and so we actually had a long weekend together... but we're trying to save some money so we hung with friends and didn't get out of Shanghai like a lot of people do. It was lovely and quiet (as far as a massive city goes) and it's always the best when there's no work!

Today I thought it's time to quickly write up about my neon fern skirt... a really straight forward stretch knit fabric DIY pencil skirt that I made during May. Same fabric as my latest Manado Dress and same shape (and construction) as my Golden Jubilee Wiggle Skirt. It's two pieces, a skirt piece and a waistband piece sewn into tubes, and then attached. Very straightforward.

Neon Fern Stretch Skirt

And there are quite a few DIY tutorials online for this kinda thing, no waistband elastic needed if your fabric has enough thickness and reboundness. Is it called recovery? Not sure. Again, fabric description is not my strongest point... but this one feels so comfy to wear, especially around your middle.

These photos are from a hot summer's Saturday, and we'd been out for lunch with some new New Zealand friends, and it became way hotter than I expected. I like my floaty op shopped shirt (it reminds me of my friend Nina Las Vegas) but I think it is styled better with short shorts and leggings than with this pencil skirt. Plus, I look hot and a little bit wilted. We started to stroll home, took these photos and as Felix was feeling a bit sick we jumped in a taxi soon after.

Wish there was more to write about this one, but you know how fast stretch fabric is to sew up especially with an overlocker! It's like 4 seams... and the hem was a slow topstitch on the straight stitch machine that is just OK not perfect. I broke my twin needle so have to order a new one from Taobao this week! Taobao is like all the online shops of China all rolled into one!


Neon Fern Stretch Skirt

Neon Fern Stretch Skirt

So! I thought I'd try out some larger photos here, because I only had a few piccies of this skirt... just to test what it looks like on my blog. Let me know if they're TOO big but at the moment they look ok on my little laptop... I have to scroll a little more, but at least the skirt is a little larger. The print is so great, I'm happy I have two versions of it, now with this skirt and the swing dress! But yeh. Staring at my black wedges now, I actually want more summer shoes... I only have these and my yellow platforms (or maybe they're flatforms - hee hee) with me here in Shanghai. And thongs, but the streets are quite dirty, so I don't feel the best wearing the flip flops as I would at home! In China, we wear slippers that are like thongs inside and at the pool!

So funny the habits I'm picking up here! I carry tissues with me everywhere, as toilets most of the time don't have toilet paper (!) and you ALWAYS take your shoes off going into people's houses. This week, I also realised I know more Chinese than Japanese ... which is a bit weird... I studied Japanese through High School and did first year uni (just one semester) so in 9 months of living here in Shanghai, and studying it one-on-one with my teacher once a week, I feel my conversations are really going places! I'm amazed!

Anyways, here are some notes to finish with and hope you're having a great week! Thank you for reading, as always!!!


Notes:  
Pattern: None
Fabric: Stretch something, same as this swing Manado Dress and my Davie Dress. Purchased from 168 Dongmen Lu, near Zhongshan Dong Er Lu, 东门路168号,近中山东二路
Size: My hip measurements... around 36 inches/92 cm  
While Sewing: All came together fine, but had to reinforce the hip seams where it joins the waistband as it's right on size.  
Will I Wear It? Yep, it's totally cool for the summer even though it's fitted-ish and have worn it about 3 times already

Monday, 25 May 2015

Voila: Gathered Skirt & Floppy Blouse


Hello from Fuxing Xi Lu! It's springtime in Shanghai!

And today here's a 'no pattern' outfit... a gathered gingham skirt with a linen hem... with a floppy blousie thing. A knit tshirt tucked in... sounds more posh as a blouse. I'm in the Former French Concession in these photographs, so it's totally a blouse.


A few weeks ago, I made some gingham trousers for my little boy, as part of my Sewing School... and since I'm buying 2 metres (liang mi in Chinese) of fabric these days (is that how much you buy? A bit different from op shopping - I would usually just buy everything at the op shop/thrift store)... I had some left over. Childrenswear doesn't take up much fabric, of course, so there was enough for a gathered skirt of some kind, so I fiddled around for a while finding the right kind of shaped rectangle (the skirt) and making sure I had a waistband as well... and then during all my fiddling and folding and checking I found the green linen remnant!

This year, with a small stash, and an even smaller scrap box I'm trying to use it all up... mostly it's easy to make kids clothes from decent scraps, but I'd also like to push myself to make different clothes to what I'd usually make. Because usually, I take short cuts and choose easy patterns with sewing, and it's time to change! So my spare green linen has become a hem, and added length and weight for the skirt to be perfect for bike riding.


The hem became my main focus for a while, and it turned out how I'd hoped, with this little flap of the gingham over it, as you can see above. I cut two long pieces of the green linen to match the skirt pieces, overlocked them together... then stitched them together vertically. A bit more faffing around, pinning and ironing (linen is just so perfect to iron, but creases so terribly) I then topstitched the green bit underneath to create the flap in the gingham fabric.

Of course, I was concentrating so much on the skirt pieces and that hem, that I totally forgot the waistband pieces, so they're made of three long rectangles sewn together... and not matched that well... nor is the front seam of the skirt ... because again when I gathered the skirt up I couldn't decide where to put the zipper, side or back, and where to put the gathers all the way around or leaving a space with no gathers... and then I was faffing around again with the zipper, should it be exposed or not exposed... and actually, I might have put it in twice because the first time was wonky as a lapped one...


That's me sewing without pattern & directions, I guess! A FAFFER.

My blouse is kinda the same... I did use a bodice piece from a McCalls pattern I've brought with me (it's for a woven pattern though) but traced it to have more of a swing from the bust and then I winged the sleeve tracing around an old RTW tshirt... but ended up cutting it into a cap-style.


While it's a totally wearable floppy t-shirt, it's not really the best fit or shape... again, no pattern makes it all a bit weird for me. (I have been pinning a few actual t-shirt patterns since trying this one) The fabric was from my local fabric store, which is tiny and they had about 10 knits to choose from (with different weights) ... and this feels like it will pill eventually. :( BUT it's nice enough to wear when it's warm and really, I'm trying out some different shapes on my bod!


I have worn this skirt at least 3 times for Me-Made-May already... so that's a good sign! I love the heavy hem on the bike so it stays over my knees ok. But because I kinda went a bit fast with putting it together after I got the hem so lovely, it does annoy me a bit that the gingham isn't matched well. OH WELL! Looking at the photos I have such full on pin curl hair! This fringe is totally bouffant!

And lastly, I have completely LOST the blouse! We have a housekeeper who does our clothes washing (everyone has a Ayi in China) and I can't find where she's put it! So I need to make more now... and get a bit better at sewing them as well.


Have a great week, talk soon!

xo

Monday, 18 May 2015

Voila: Pattern Testing the Pin Pegs Mini Skirt


Happy Monday! Hope you had a great weekend! We have my parents visiting us in Shanghai so it's been busy but it's just a dream sharing the city with them. Husbie even had a day off! YAY!

I'm really happy to show you my Pin Pegs Mini Skirt this week... it's a new pattern from a brand spanking new independent pattern designer.... Annie Mollison who's 'Sew This Pattern' stems from a lifetime of fashion design, sewing and modern living & blogging. I can't remember when I first saw Annie's blog, Nine Stitches... but I just remember her moxie sewn garments & sunshiney photos and her fabric choices being really strong. So when I saw she was looking for pattern testers, I was very curious about her pattern design... and I wasn't disappointed ... this skirt has as much spunk and edge as Annie!


So first up, I'm very happy with the skirt... delighted it fits so well, but mostly really happy with my sewing on this one... it was a challenge for me at times (there are more pattern pieces that I usually sew with because I usually try to cut corners) and that's a VERY GOOD thing for me right now.

I can't even look at tracing a pattern until I confirm my fabric for some reason at the moment... I bought this faux suede from my closest fabric shop that is EXTREMELY limited with fabric choice as there were probably no more than 5 bolts that I could have sewn with and 2 were corduroy (!) that I was not interested in even touching! The pattern calls for a cotton-sateen like weight with that kinda stretch... but in my travels through the fabric markets here, I have not found anything like it yet... so the animal print faux suede with a small amount of stretch was kind of my only option. It really is an autumn or winter fabric and I don't think I'll get to wear it again until later in the year now as Friday (when I wore the skirt out) was our last hurrah of rainy spring (I suppose, we'll see) here in Shanghai.

So tracing the pieces were great, but you totally have to number and mark and even name all the pieces correctly because as you can see the waistband has a facing and also all the skinny edges have facings... so there's a bit of time there for tracing but now I have a proper ruler and chalk for transferring markings I felt swish and virgo-like in ticking all the boxes as I went along.


Seeing Annie's version of the skirt gave me a lot of guidance, so that's why I thought I'd show my insides here too... because before I began, and even while cutting, I just couldn't imagine how the skirt was sewn up... often with dresses I know the steps and the process... but the wrap skirt exterior looks very polished so I was a little daunted and hoped hoped hoped mine could look the same.

The pattern includes photos (and I believe there are even more in the finished pattern) and I did rely on them mostly to double check the order and shape of the waistband and those skirt facings. There was a couple of times I actually said out loud 'I think I'm doing it!' because I had to concentrate a lot more and don't we all need a little positive cheering on...!?

I strongly recommend ironing a lot and basting like Annie suggests because putting in the zipper could be problematic if you don't plan that out... I was SO surprised how neat and flat and I guess a little easy it was after it was all sewn up... a big relief after the zipper was completed and a bit relief to be pushing out those facing pieces with the chopstick knowing the finishing line was around the corner... !


The skirt wasn't a quick sew for me, only because my parents also arrived mid-make and I moved my sewing machine so I could finish it (and thanks to Dad for his photos!) and because of parenting a small active child, so I didn't really take note of the hours I put into it... but I really enjoyed the challenging parts and I think I said in my review (or to my mum) that it's a nice balance of easy bits and tricky bits for my level of sewing... which I'd say is between beginner & intermediate most of the time. And it's a totally different skirt for my wardrobe!

What I do love about wearing it, and this is a size 10 with no changes at all, is it shows off my legs! My pins! And I totally don't mind a mini skirt at all... it doesn't actually look that short on me, but you'll recall I'm 150cm tall (4 foot eleven) so if you're petite, it's not that mini for a mini skirt. I would like to sew it again in summer fabric, but only if I can find the fabric... last time I was at the market I bought only stretch velour in gigantic floral print so I have no idea what I'll find the next time I go.


I actually can't think of any negative part of the pattern... only that the amount of pieces is a lot for lazy sewing queens, but it's appropriate to the pattern and wouldn't be as stylish or polished otherwise! There may be a bit of extra fabric on my flat bum area (just under the waistband, some extra fabric hangs out horizontally, if that makes sense) so I might just drop that waist line on the skirt a little next time. But the lines of the pattern vertical are very sharp and feel very flattering on. The pattern pieces do have a nice curve in places so Annie has really considered the design overall rather than rectangular waistbands etc.


FYI, Annie provided me and her other pattern testers with a copy of the pattern in draft form, in exchange for our thoughts & feedback & a couple of photos... and in return we received a copy of the final pattern for free. I bought my own fabric and spent my own time pattern testing and these thoughts today are all my own opinion... and this is totally all my personal experience sewing with the pattern. I feel quite happy to have contributed to Annie's creative process in some small way, and also feel like it's a fair process, considering I don't have a lot of patterns with me in Shanghai and for the first time in my sewing lifetime, I have the actual time to sew! Slowly, but still I'm making stuff!


Have a great week to you! This week, I have a blog post coming about the Haberdashery Market in Renmin Lu here in Shanghai ... so see you again soon!

x


Dongmen Lu Fabric Market

Happy Wednesday! Time to get some fabric inspiration from the Dongmen Lu Fabric Market here in Shanghai! Can't believe how quickly 201...