Showing posts with label Tilly & the Buttons. Show all posts

Tuesday, 22 December 2015

Making: How to Add Larger Kimono Sleeves to the Bettine Dress

Today I thought I’d show you how I exaggerated the Bettine Dress sleeve and bodice to put a summery twist on this Tilly & the Buttons Pattern! You might remember this dress I made for wearing to the ever gorgeous & lovely October wedding… it was a cool light (maybe pretend) linen fabric and super soft for the warm sunny weather back in Australia. When I posted the sleeves on Instagram, Abigail asked to see the pattern pieces, so here we go with my behind the scenes photo series!

I loved sewing my first Tilly & the Buttons Bettine Dress over summer, it was very light in some rayon cotton fabric and comfortable on those hot days here in Shanghai. (I miss them so, it’s freezing right now!) And after picking up this very light linen (for the above dress) at the local fabric market, I just wanted something that wouldn’t be a full on kaftan but kinda like a kaftan. These gigantic purple & red flowers are just the best, and I didn’t want to cut them up!

So, onto some 'How To' DIY ideas... please let me know if you need more information anywhere... typing this at the hair salon, so don't have the pattern pieces in front of me! Here's the two pieces loosely placed over each other... the bottom piece is the new kimono-sleeved piece and you can see where I just wiggled the 'around about here' length, but I think I made it a little longer just in case.

Firstly, I got my existing front bodice piece of the Bettine Dress pattern (I traced all my pieces for this one)… and traced the shoulder, the existing neckline and the centre fold. In my mind, I wanted to sleeves to be around my elbow, and so I then continued that shoulder seam line out further and on the same angle… you can see all the measurements and shapes in the photos…

I should point out that my Bettine Dress bodice has a little shape as I graded up at the bust... so you can see the original side seam in pencil, but my changes is my actual cut out curve of the underarm...

My ruler is in centimetres btw! So you can see the exaggerated sleeve, the dropped underarm curve that's closer to the waistseam (which in the original Bettine is then elasticised so isn't the true waistseam)... and it was the underarm curve that made it a bit trickier… but it came up ok for me. So the ’T’ shape is more a thick horizontal rectangle… Mushroom shape instead of a T shape? More mushroom and less stem?

I added waist ties into the side seams a few inches lower than the original waistseam too... meaning that when I tied the ties around my middle it came up a more and created the floatier loose overhang (what can we call that?) upper gathers/paper bag scrunched look... (please don't send me to fashion school, terminology is not my strong point! HA!)
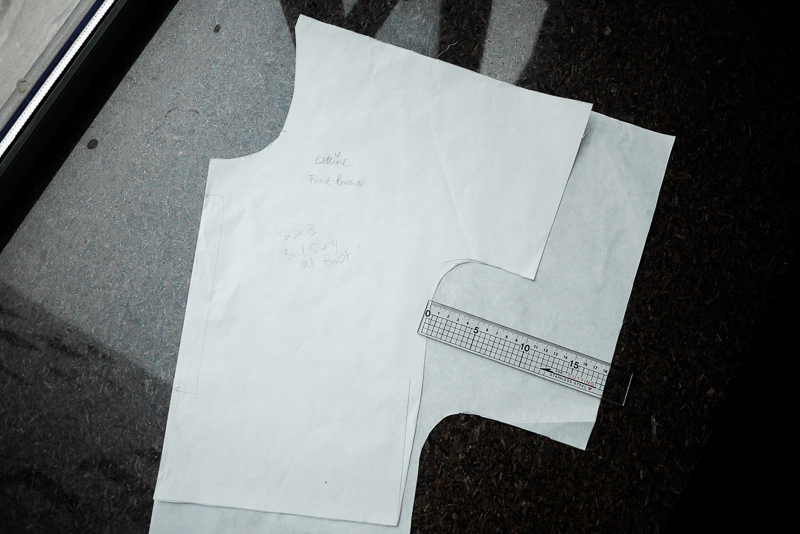
So I just made sure in my changes that the back and front pieces match up at the shoulder seams, but considering that the only difference between the front and back pieces in the Bettine dress is the neckline (it's a loose fitting top) it wasn't that tricky. But play around (with cheap drapey fabric) and see what you get!

I tested out tying the ties wrapped around my front first or my back first... it looks way smoother on my bottom/waist tying across the front first. I would tie the ties, and then pull little pieces of the dress out around the waist to see how it hangs best.

Anyways, let me know if you try it, and yay for a little exaggeration on a straightforward pattern!

Wednesday, 14 October 2015

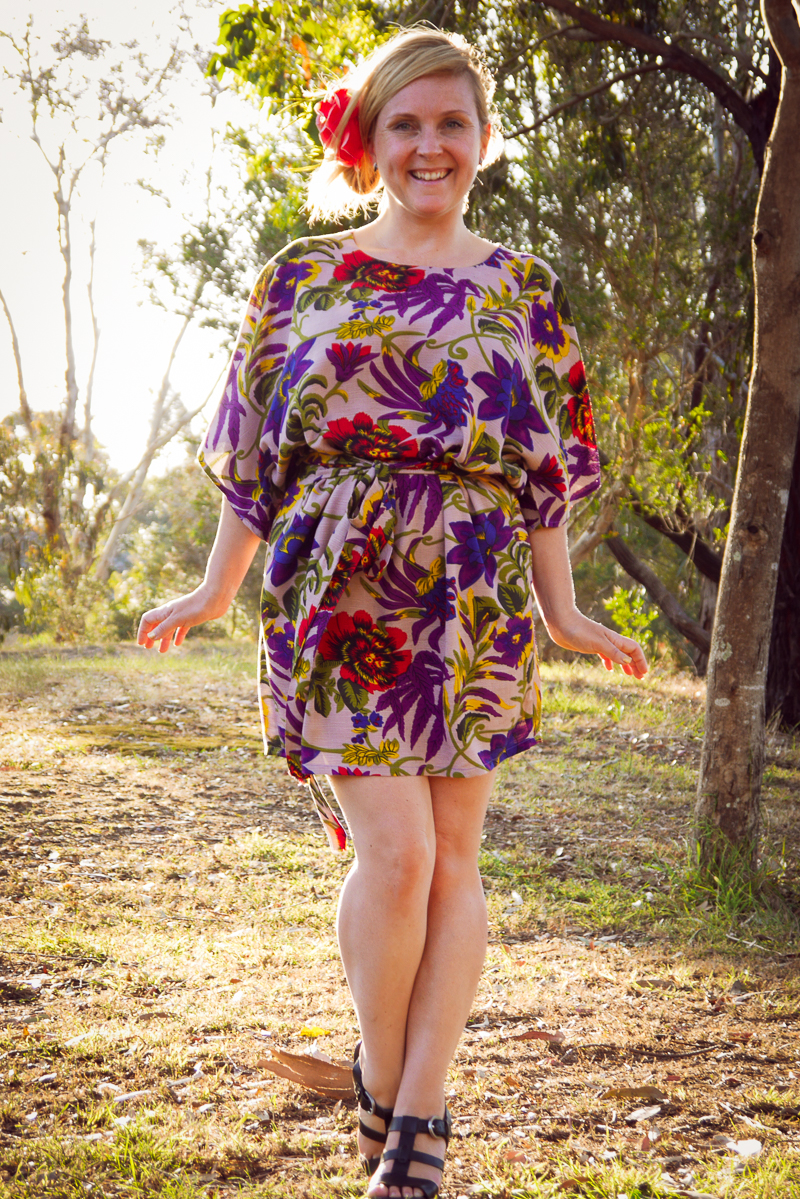
Voila: An Exaggerated Bettine Dress

A dress sewn in Shanghai, China and photographed in Gippsland, Australia! Very excited to show you this dress today, and yes! I’m back in Australia for a short visit, with Husbie’s demanding work schedule clearing up around Golden Week in China, we’ve secured a few extra weeks away and catching up with all the nature we can find at my parents place in Gippsland.

It’s GLORIOUS!

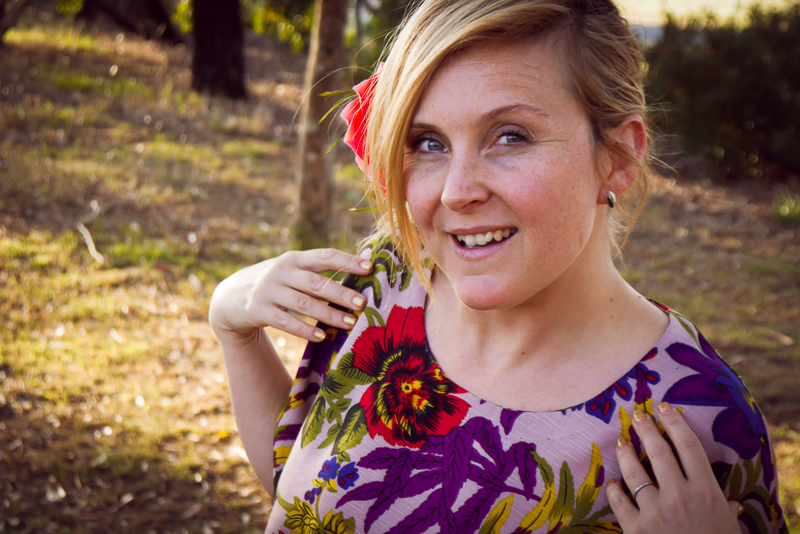
I made this dress the week before we left for our trip and had hoped this fabric would turn magically into a happy holiday dress, and that’s what happened! Yay! It’s a different shape for me, but after my Orangey Floral Kim Dress wasn’t my favourite fit (the fabric is exactly the same light linen feel) I wanted to try a flowy kaftan or kimono sleeve with this absolute favourite purple fabric! And I think it worked!

Bettine Dress Tilly Veronica Darling

The fabric is from the usual fabric markets (you can see it here) and I got it at the start of summer. I am in LOVE with these colours. Purple, green, red, yellow. I think they’re my absolute golden ones. Outside of black, but I actually don’t see myself wearing black as often… I haven’t sewn it for ages…. so I might be off it! Sewing this up was easy but it creases a lot and that’s why I think it’s linen… but very lightweight. I need to get a list of fabrics and have them translated so I can try and find out what things are at the markets.

Anyways, the pattern is the Tilly & the Buttons Bettine Dress but super exaggerated… I imagined Bettine dropped by while I was tracing and just kept whispering “more sleeve… you can drop that underarm curve more… you can do it” to me… so I did and in the end didn’t use the skirt pieces at all, because as I traced lower and lower under that arm… it almost matched up with the waist seam so I just drew the side seams straight down to the hem. I tried to keep the same length of the Bettine though, because I wasn’t sure how I’d make a waist (elastic like the Bettine pattern or ties like I’ve done) before I started sewing.

Bettine Dress Tilly Veronica Darling

But it’s a Bettine pattern front and back, and instead of that wide facing pieces for the neck, I just used bias and handstitched/blindstitched it down… I didn’t want any topstitching near the neckline.

So I’d stitched the shoulder seams, the neckline and the side seams… and tried it on and was officially a Bettine Bag. Lump of Linen…. and of course no shape for my curvy body made it look even more enormous… so I measured out a long couple of pieces of fabric to make the ties… then attached them at a spot either side (unstitched the spots on the side seam stitching) kind of at the same point the waist seam would be on the Bettine skirt piece (or I guessed it was). The idea came from this photo I pinned but of course didn’t have the extra fabric pieces to make it smooth like that... but hindsight doesn't work as well with fabric, so this worked fine really.

Bettine Dress Tilly Veronica Darling Bettine Dress Tilly Veronica Darling

I hemmed it and that was it. QUICK and easy and florally flowy. I tried tying it two ways… this way is pulling the ties forward first and then wrapping them around… that makes a smoother bum and a gathered front. The other way I tried to make a smoother tum and a gathered back waist/bottom but Husbie said this way was better, and showing my body shape a bit more than creating a weird extra shape at the back. I don’t feel frumpy because the fabric hangs so lightly, but I don’t think I’d make it again unless the fabric had heaps of drape.

But I like it and could kiss the big flowers for being so richly coloured. I think these jewel tones suit me ok? I haven’t really thought about it until I went normal blonde last year and then strawberry blonde this year… it’s hard finding the colours you like and that suit you… After a bit of googling I came up with pastels (not my favourite colours/tones) and jewel tones… so will try to stick to these to see which suit my skin and hair colour… When you’re platinum everything looks bold and really good (or I thought so anyways) apart from yellow… so at first I felt muddled having to find the right ones… I feel great in these colours though, so that makes me really happy!

Bettine Dress Tilly Veronica Darling

We’re going to a wedding this weekend, and I’m hoping to wear this lovely purple relaxing dress… (unless I make another dress or wear the other Fabric Market dress, who knows what I’ll be in the mood for?!) and cannot wait to catch up with loads of good friends. xoxo

Wednesday, 26 August 2015

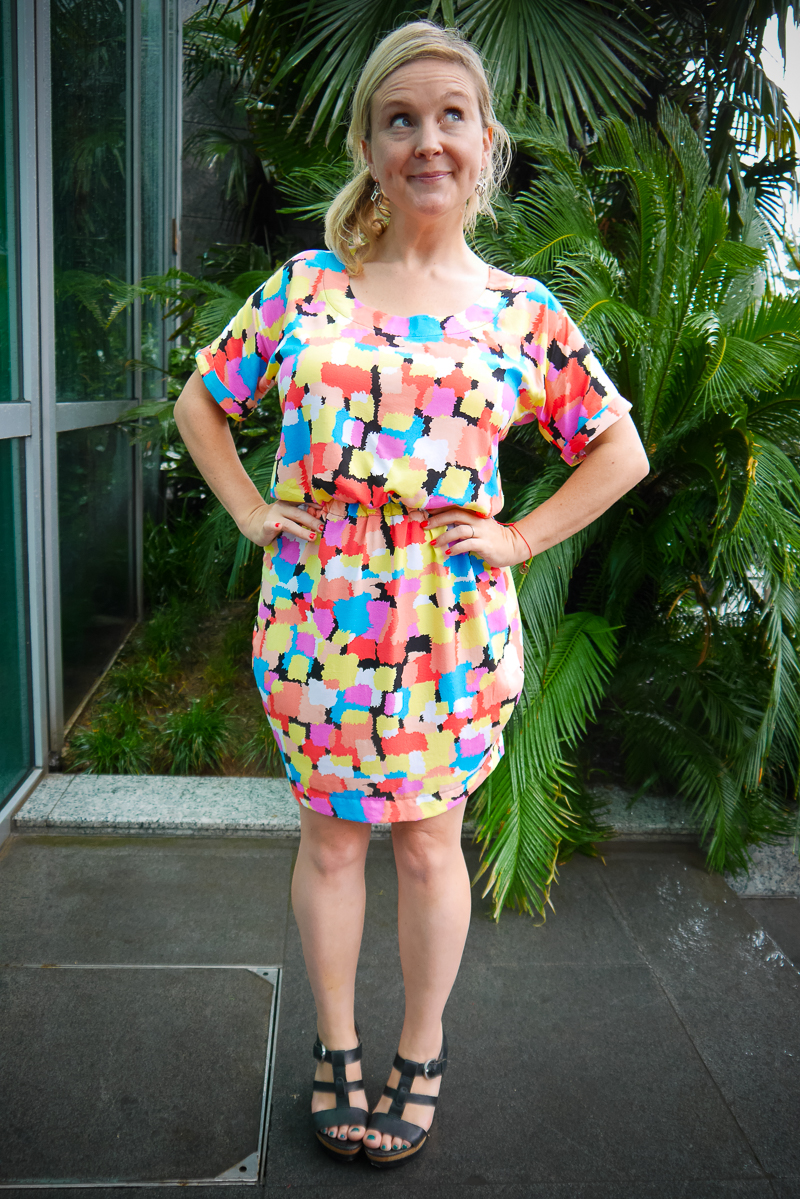
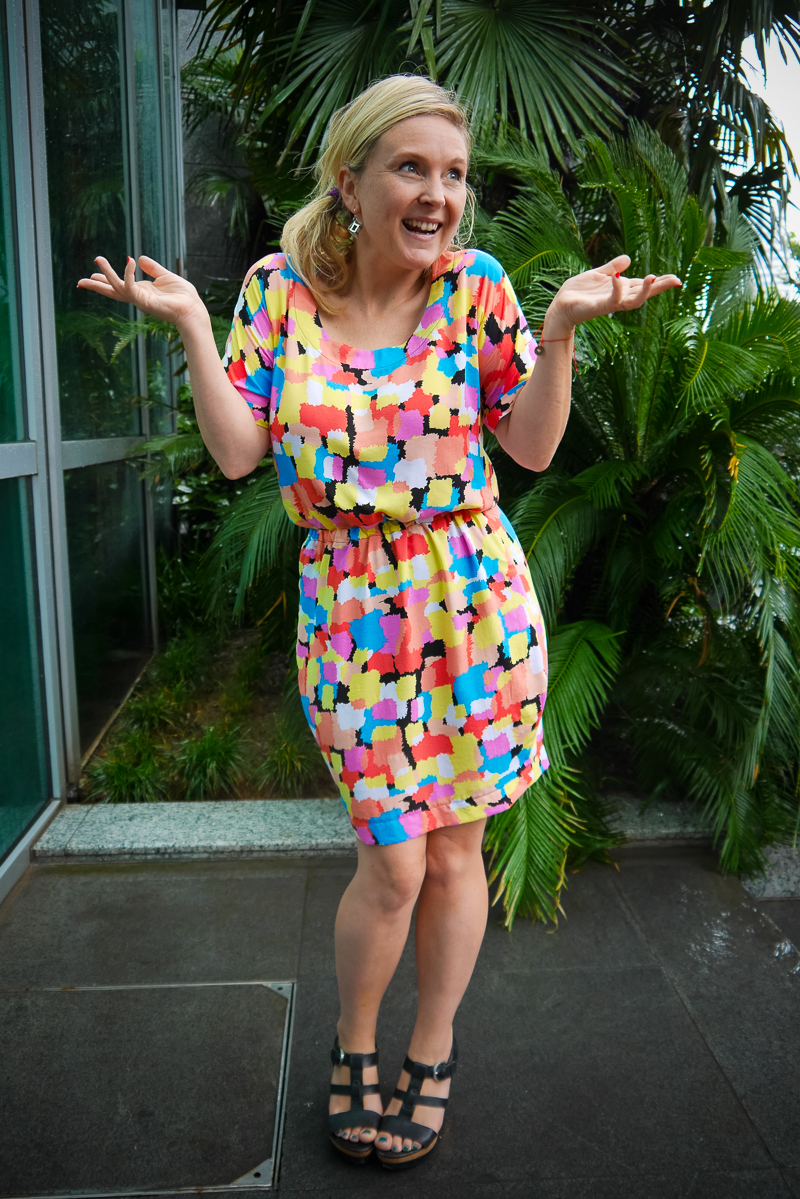
Voila: Bettine Dress by Tilly & the Buttons

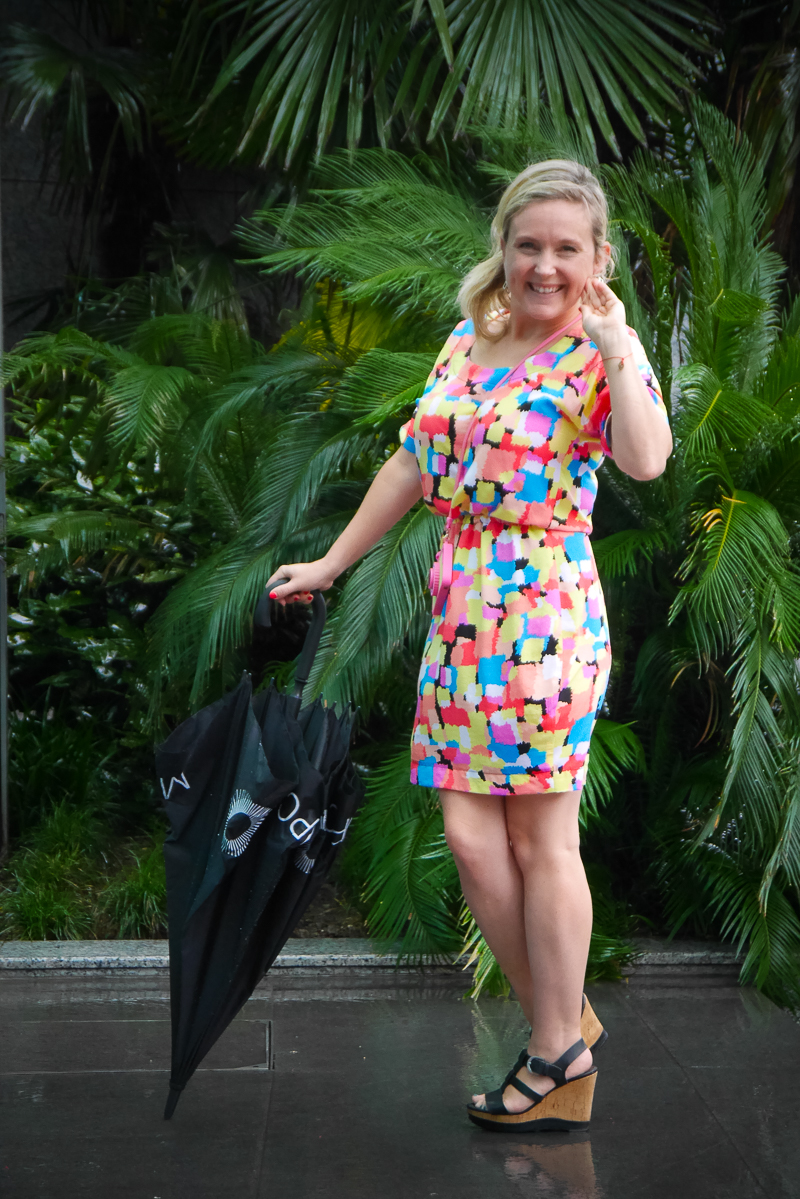
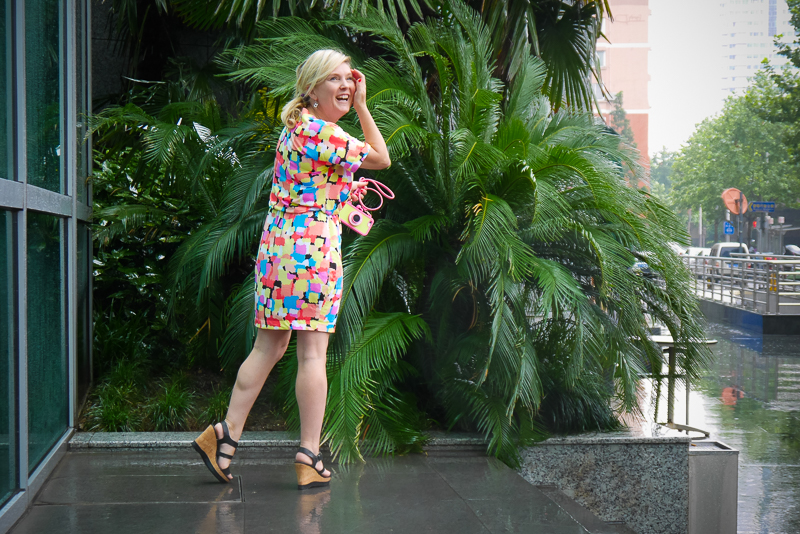
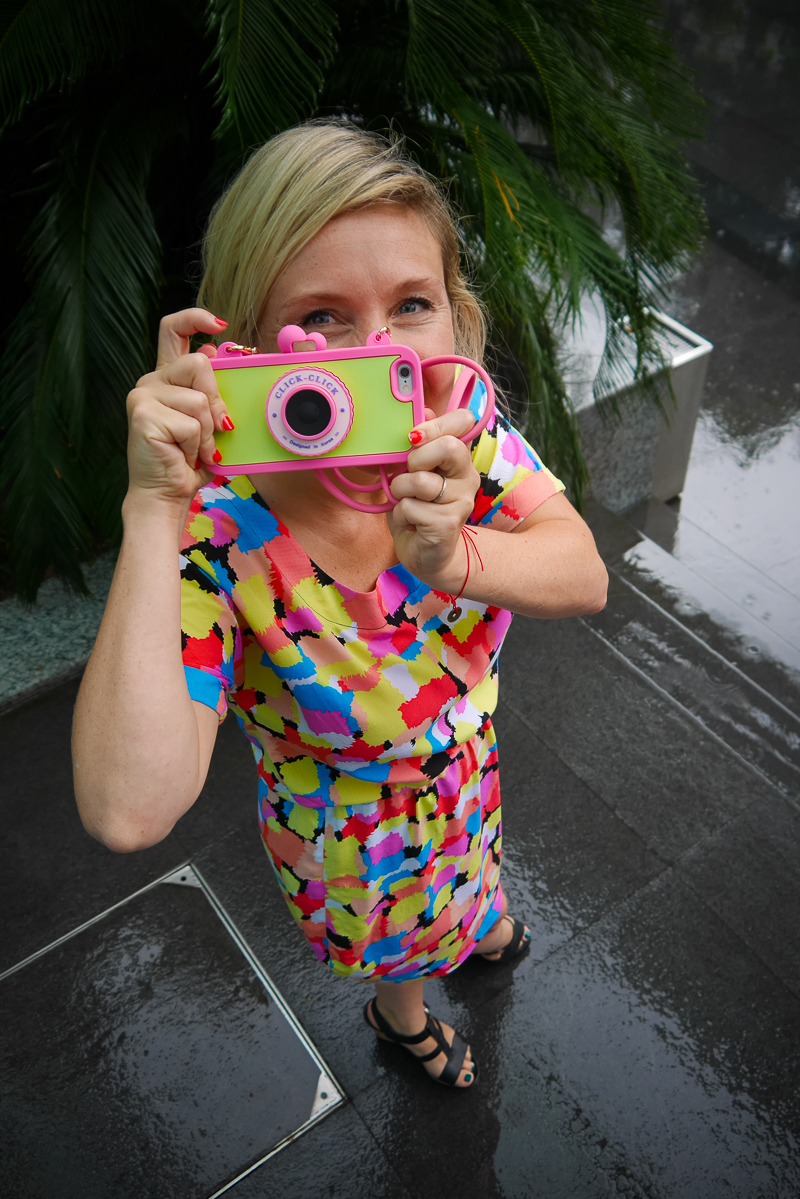
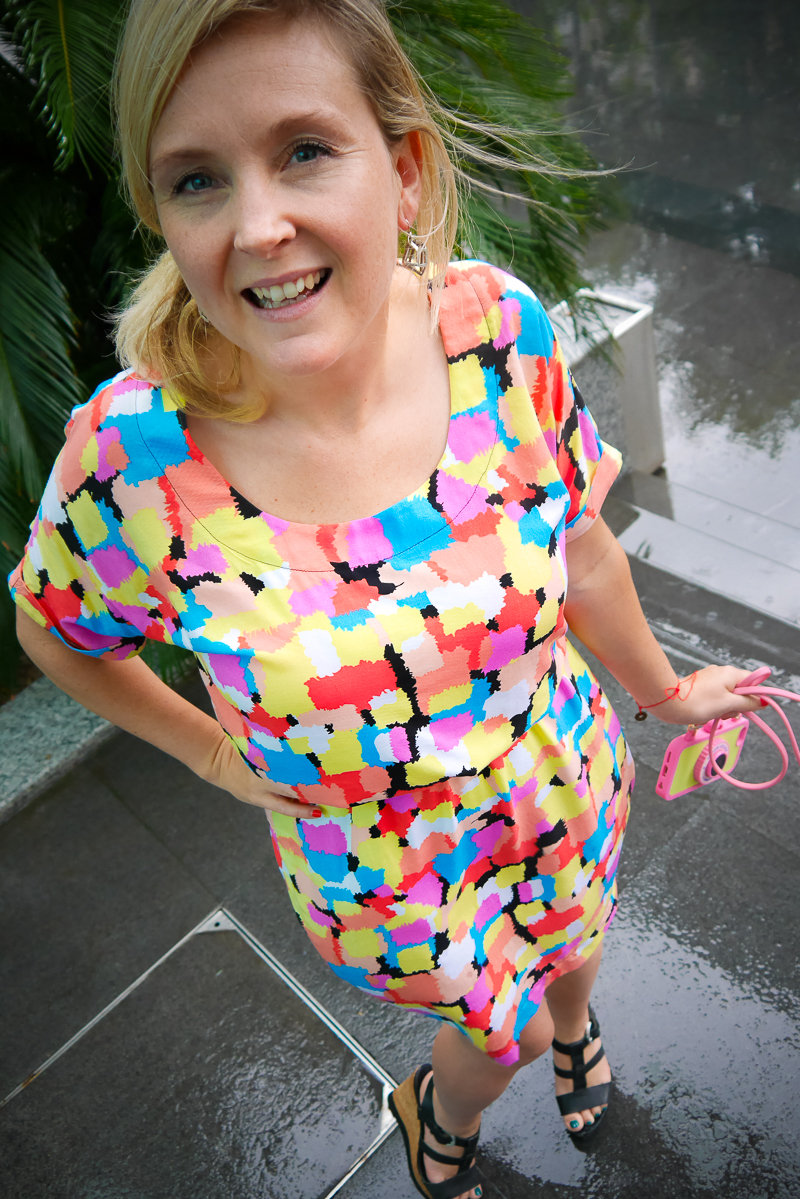
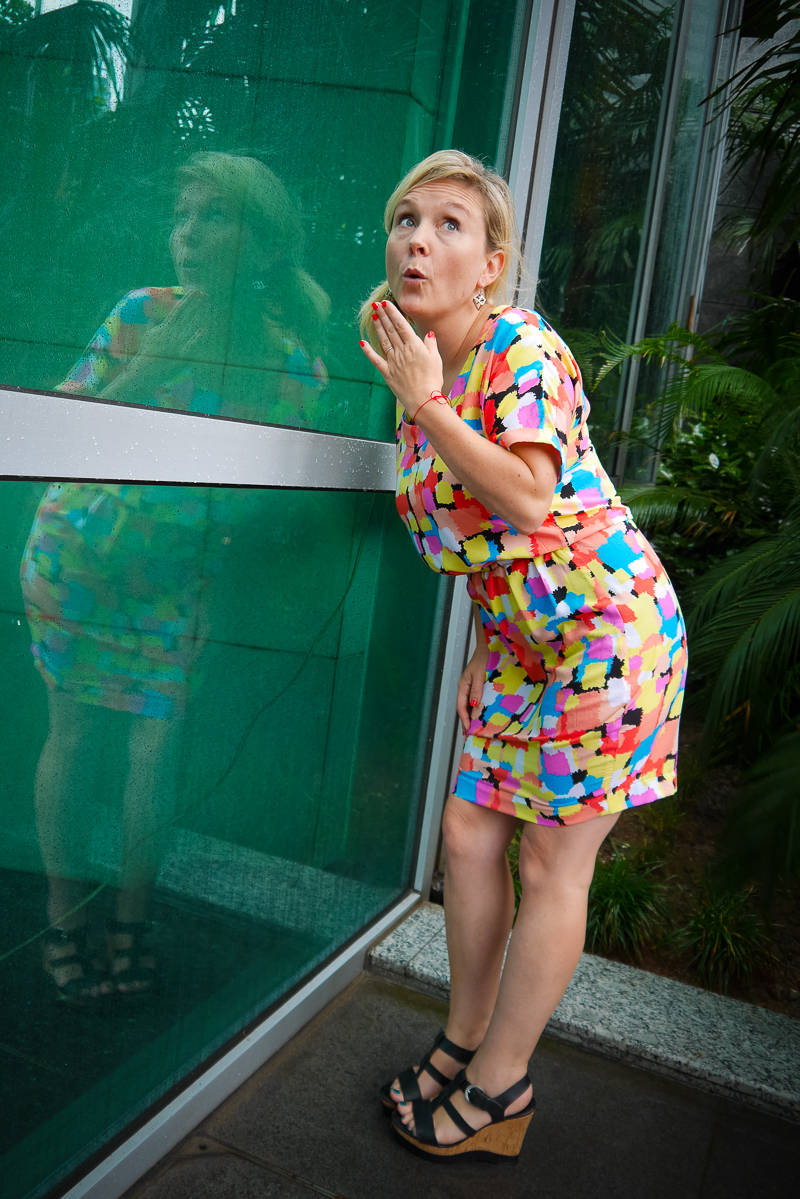
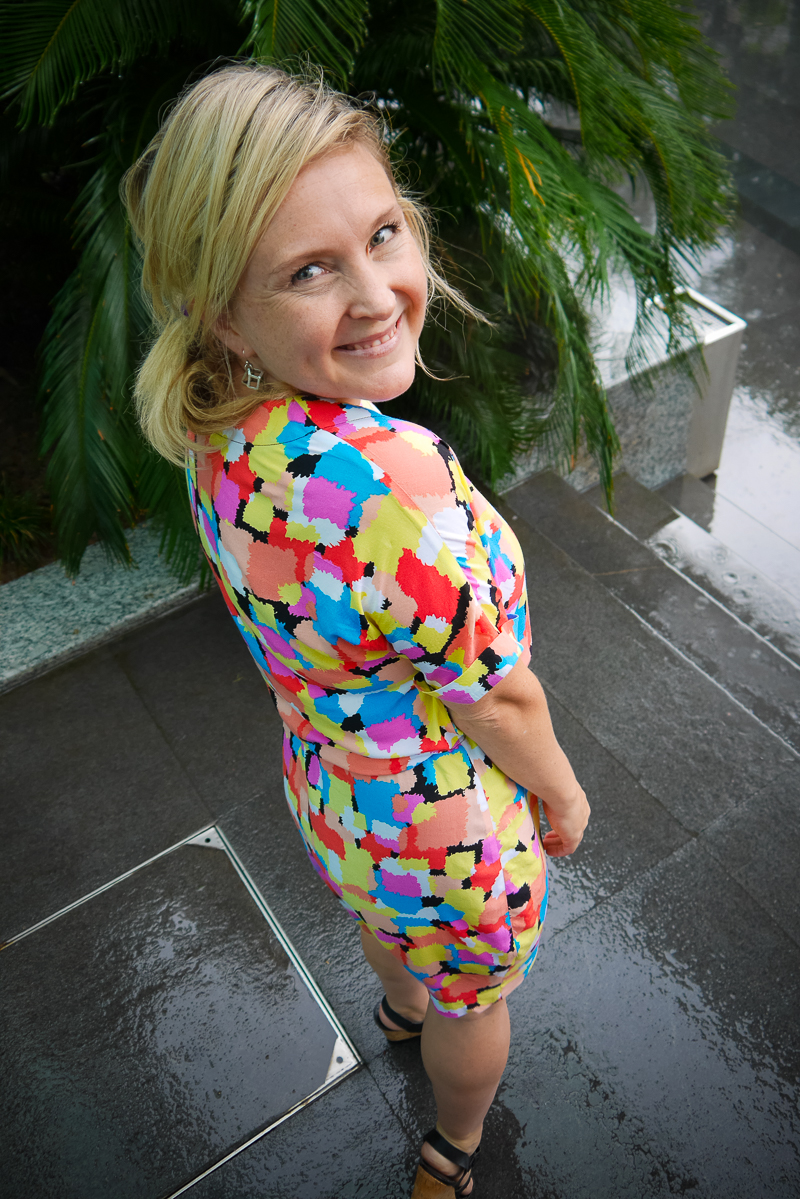
This week is my BIRTHDAY week and I wanted a bright and cheery dress to wear out and about in Shanghai… but especially to wear a nice new dress on my birthday day. It’s my first time having a birthday in Shanghai, so I was looking forward to sitting on a rooftop sipping some bubbly and generally being amazing in the summertime… compared to wintertime birthdays in Melbourne. BUT, no one saw more TYPHOON weather coming! It rained all day Saturday & Sunday and even most of my birthday on Monday. Husbie was glowingly positive saying “Shanghai smells so beautiful and fresh thanks to all the rain!”. He was right, despite the wetness, the town was smelling amazing! So before we picked the little one up from kindergarten, we popped out for some photos but without a lot of covered areas near our apartment, we found a little corner near the cafe that was sheltered from the blustering wind and rain for some photographs!

And can you see my birthday present from little Felix? A phone case shaped like a camera - Oh China, where you can find everything fun!

Untitled

The dress pattern is Tilly & the Buttons Bettine, and this is the FIRST time I’ve sewn one of Tilly’s patterns. Moving to Shanghai last year, I only brought a few patterns with me… and now that I’m back enjoying sewing so much AND blogging so much again… I started to pick and choose a few new patterns to try! While I thoroughly welcome all the independent pattern designers, I am usually consistently thrifty & mindful of just buying secondhand. BUT, this recycling way of life is WAY different & trickier in Shanghai… there aren’t ANY op shops here and definitely no sewing patterns for sale! LOL! Anyways, new patterns can be EXPENSIVE, right?! This dress & the little underwear set pattern Fifi were on sale together, so thought I’d take that as a sign to get thrifty AND sewing. I was curious to try a different dress shape too… and I think it’s a lovely casual day dress.

OK, so I actually loved how simple this pattern was to sew… there are not many pieces, and the skirt front and back is the same piece. I don’t have much of a toosh sadly, but it might be something to consider if you’re more rounded at the back than the front. But it's a simple beginner project, this version, and while I’m probably an intermediate seamstress, it’s nice to have some simple projects once in a while.

Untitled Untitled

I size between a 4 (at the bust) and a 3 at the moment, so because the shape of the bodice pieces (a big fat T!) so I traced the 3 size everywhere but around the bust/underarm area where I tapered to the 4. Also while tracing the skirt, I shortened it by 2cm, which made it all perfect in length for these short legs but also made the shape of the skirt tricky to know the right side up… which is why I attached it upside down. Oops.

The fabric is some very light cotton from the Dongmen Lu Fabric Market, and the same market stall I got the fabric for my Anna/Circle Skirt dress. The seller said it was cotton, but due to it’s drape it could be viscose or a rayon, I just don’t know my fabrics well enough to guess. But it’s very comfortable to wear and irons ok but there are a few creases that come with it while wearing. The floppy nature of the Bettine bodice is perfect for the amount of drape in this fabric.

I also have become a bit of a french seam lover when it comes to this fabric, it’s lovely to sew up… with the 5/8 seams the Bettine suggests, I just did 5mm wrong sides together and then 1 cm right sides together. Have no idea if this is the right measurements… it comes up lovely on the insides though… I just wish I’d folded and stitched the overlocked facing edges and hem now as the overlocked finish with the grey threads looks a bit ghastly with the nice neat french seams. Oh well!

UntitledUntitled

As I made this up over several days, sneaking a few minutes here and there around my Mama Life Responsibilities… I somehow lost track of the top of the skirt, and until I tried it on finished & sewn up, I realised the skirt piece with the blue pattern was upside down… looking in the mirror I was like, hey that blue key looks different on the skirt piece. URGH. Maybe I’m more of a beginner seamstress after all. What a dickhead! Of course a print like this can hide it well… but there’s a slightly different drape shape in the skirt (haha drape shape) so I will have to make it again to get it done well.

It’s a very quick dress to make up, and Tilly’s instructions are VERY easy and fun to follow. I don’t mind a bit of handholding sometimes and I took the advice of actually measuring the neckline facing topstitch and drawing a fabric pen line… it makes it incredibly neat. Thanks to all you Instagram friends who suggested the black threads (instead of yellow or white) sometimes it’s hard to know what to do!

UntitledUntitled

Thinking back to my old vintage pattern stash, this dress would probably have been similar to a late 1970s or early 1980s elastic waisted dress… the built in sleeves making the T shape… I wonder why the dress couldn’t have been just one long T shape instead having a separate T or skirt piece. I also wonder if trying the pocket version will hide a cute as a button tummy bulge or will it accentuate it?

Anyways, I’m looking forward to trying the Fifi pattern now! I think I’m going to team it with a Sew This Pattern Venus Kimono! Just gotta work out how to mix and match the fabrics!

Hope you’re having a lovely week and remember that my giveaway is still open till Monday. A great prize, your own personal Shanghai shopper (me!) and a gorgeous Megan Nielson Pattern of your choice!

UntitledUntitled

And because this is my first Tilly & the Buttons pattern, here are some Tilly-esque photos! Il est une petite femme mignonne! Just like you Tilly!

Notes & Summary:  
Pattern: Bettine by Tilly & the Buttons
Fabric: Cotton with a floaty light drape. Purchased from 168 Dongmen Lu, near Zhongshan Dong Er Lu, 东门路168号,近中山东二路  
Size: Size 3 but a Size 4 at the bust  
While Sewing: All fine, and lovely! Just got to label the top of the skirt a little better next time!  
Will I Wear It? Yes, the weather is a little cooler so it’s not annoying to have elastic around your middle. This could be my autumnal staple!

xoxo

Dongmen Lu Fabric Market

Happy Wednesday! Time to get some fabric inspiration from the Dongmen Lu Fabric Market here in Shanghai! Can't believe how quickly 201...