
Today I thought I’d show you how I exaggerated the Bettine Dress sleeve and bodice to put a summery twist on this Tilly & the Buttons Pattern! You might remember this dress I made for wearing to the ever gorgeous & lovely October wedding… it was a cool light (maybe pretend) linen fabric and super soft for the warm sunny weather back in Australia. When I posted the sleeves on Instagram, Abigail asked to see the pattern pieces, so here we go with my behind the scenes photo series!

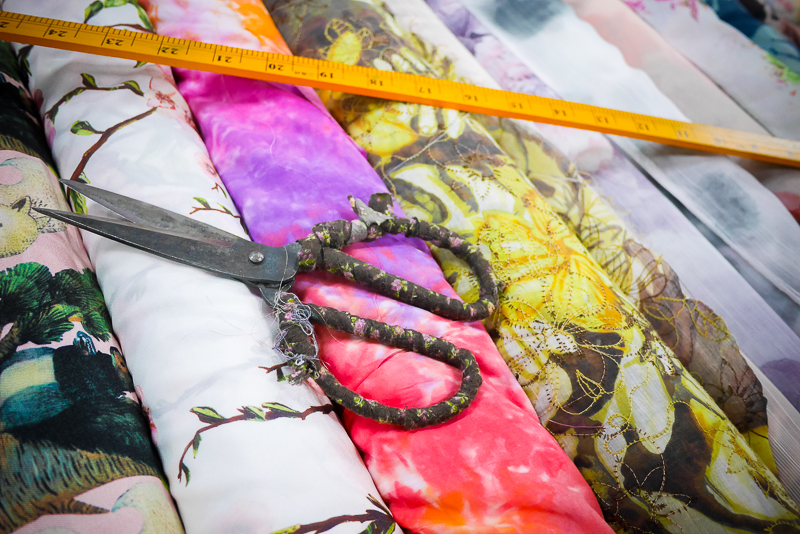
I loved sewing my first Tilly & the Buttons Bettine Dress over summer, it was very light in some rayon cotton fabric and comfortable on those hot days here in Shanghai. (I miss them so, it’s freezing right now!) And after picking up this very light linen (for the above dress) at the local fabric market, I just wanted something that wouldn’t be a full on kaftan but kinda like a kaftan. These gigantic purple & red flowers are just the best, and I didn’t want to cut them up!
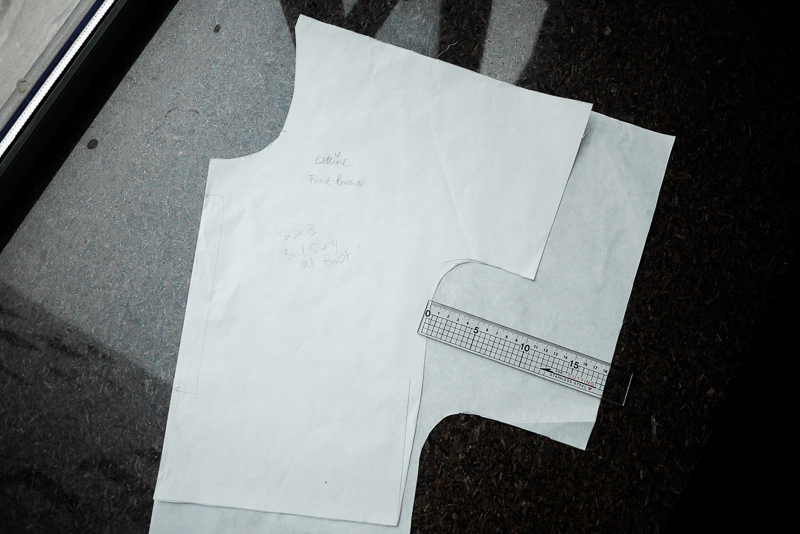
So, onto some 'How To' DIY ideas... please let me know if you need more information anywhere... typing this at the hair salon, so don't have the pattern pieces in front of me! Here's the two pieces loosely placed over each other... the bottom piece is the new kimono-sleeved piece and you can see where I just wiggled the 'around about here' length, but I think I made it a little longer just in case.

Firstly, I got my existing front bodice piece of the Bettine Dress pattern (I traced all my pieces for this one)… and traced the shoulder, the existing neckline and the centre fold. In my mind, I wanted to sleeves to be around my elbow, and so I then continued that shoulder seam line out further and on the same angle… you can see all the measurements and shapes in the photos…
I should point out that my Bettine Dress bodice has a little shape as I graded up at the bust... so you can see the original side seam in pencil, but my changes is my actual cut out curve of the underarm...


My ruler is in centimetres btw! So you can see the exaggerated sleeve, the dropped underarm curve that's closer to the waistseam (which in the original Bettine is then elasticised so isn't the true waistseam)... and it was the underarm curve that made it a bit trickier… but it came up ok for me. So the ’T’ shape is more a thick horizontal rectangle… Mushroom shape instead of a T shape? More mushroom and less stem?
I added waist ties into the side seams a few inches lower than the original waistseam too... meaning that when I tied the ties around my middle it came up a more and created the floatier loose overhang (what can we call that?) upper gathers/paper bag scrunched look... (please don't send me to fashion school, terminology is not my strong point! HA!)
So I just made sure in my changes that the back and front pieces match up at the shoulder seams, but considering that the only difference between the front and back pieces in the Bettine dress is the neckline (it's a loose fitting top) it wasn't that tricky. But play around (with cheap drapey fabric) and see what you get!
I tested out tying the ties wrapped around my front first or my back first... it looks way smoother on my bottom/waist tying across the front first. I would tie the ties, and then pull little pieces of the dress out around the waist to see how it hangs best.
Anyways, let me know if you try it, and yay for a little exaggeration on a straightforward pattern!


No comments:
Post a Comment
Thanks for being awesome and a total darling, leave a message!